Back to my courses page
small machine page
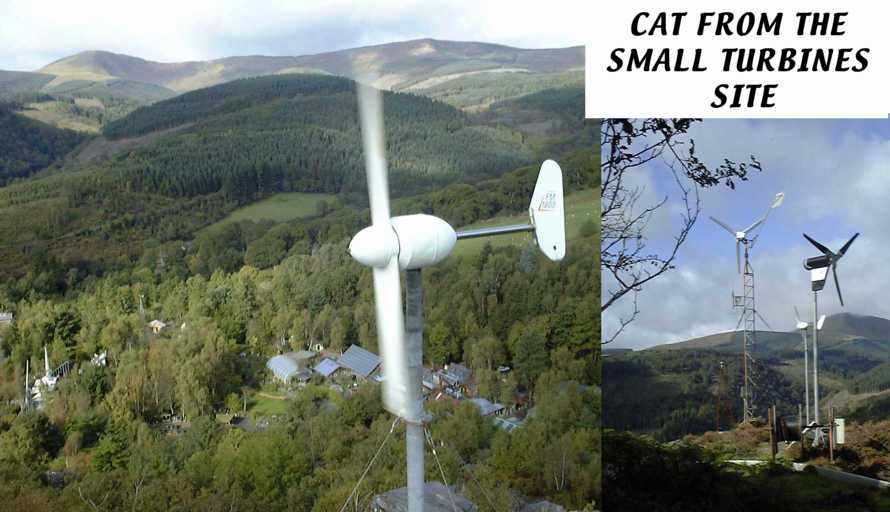
5-11 October 2003 at the Centre for Alternative Technology in Wales, UK.
There were 13 participants on this year's CAT course. Katie helped
with the metalwork again. I do not have that many pictures this time
but some of them are nice. The above pics were taken from up the
hill; where CAT site the small machines. The 600W Proven
(black) and the Marlec fm1803 (2-blader) are newly up since I visited
the site. The Centre is down in a hole below but there is a little
bit of wind down there. We got 75 watts out of the turbine we built
during The course in a light breeze (see later).
We completed one big machine (2.4m/8' diameter) and one small one (1.2m/4')
but only got the big one up to test it. Most of the pictures below
are of the big machine.
See this page for the small machine.
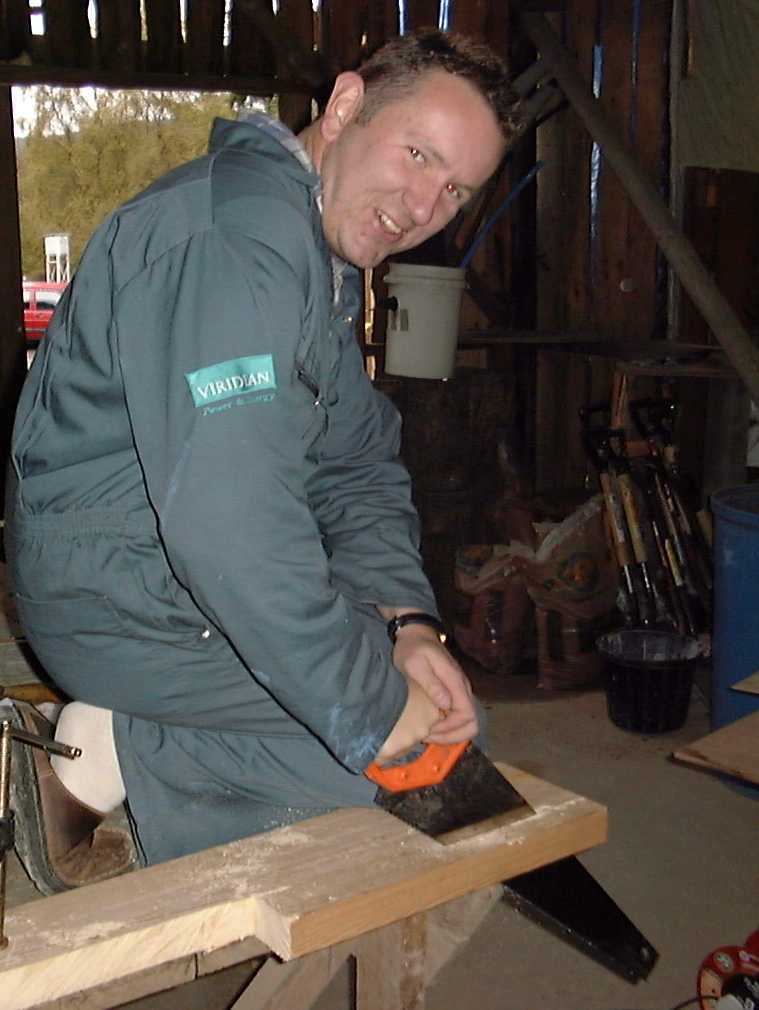
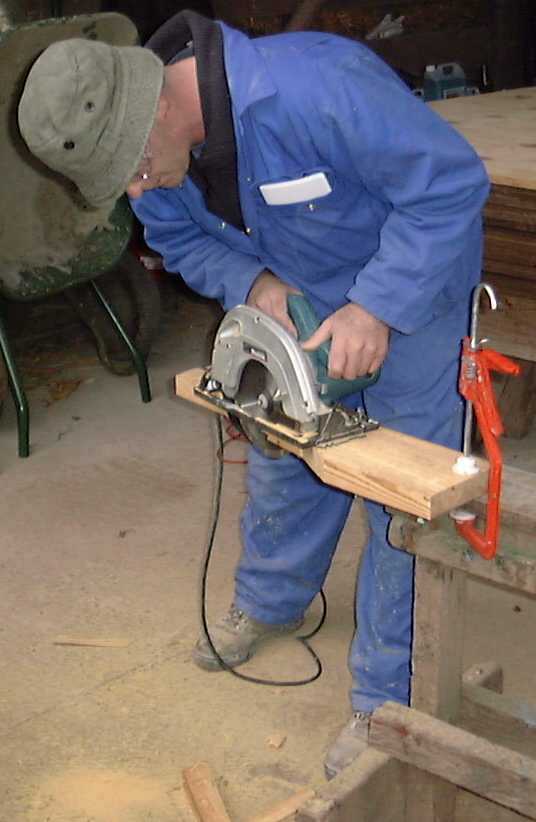
Fergus and Don set to work on cutting out the blade blanks. We completed one very nice set of blades for the big machine and two nice sets for the small machine. Most of the wood was from a builders yard. I found a nice piece of 200 x 50 (8x2) timber with few knots in it.

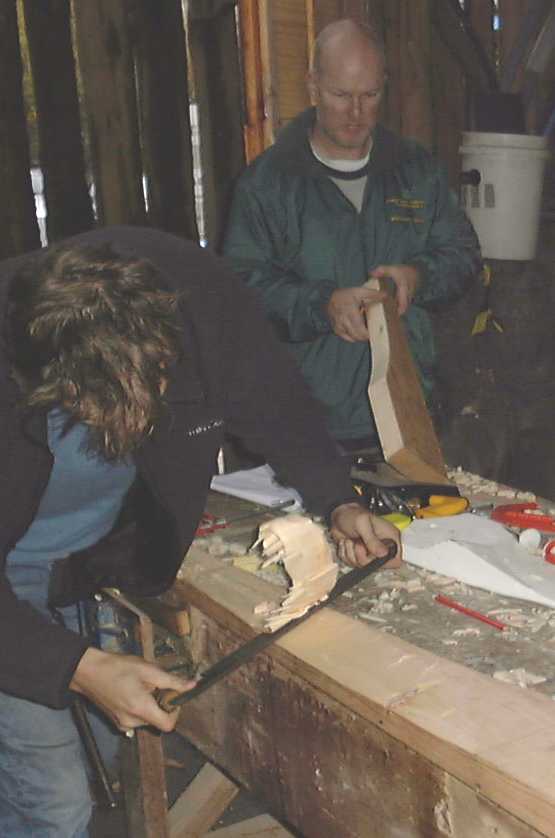
Richard carves a piece of pitch pine for the small machine primary blade set. Bjornar works on a larger blade.
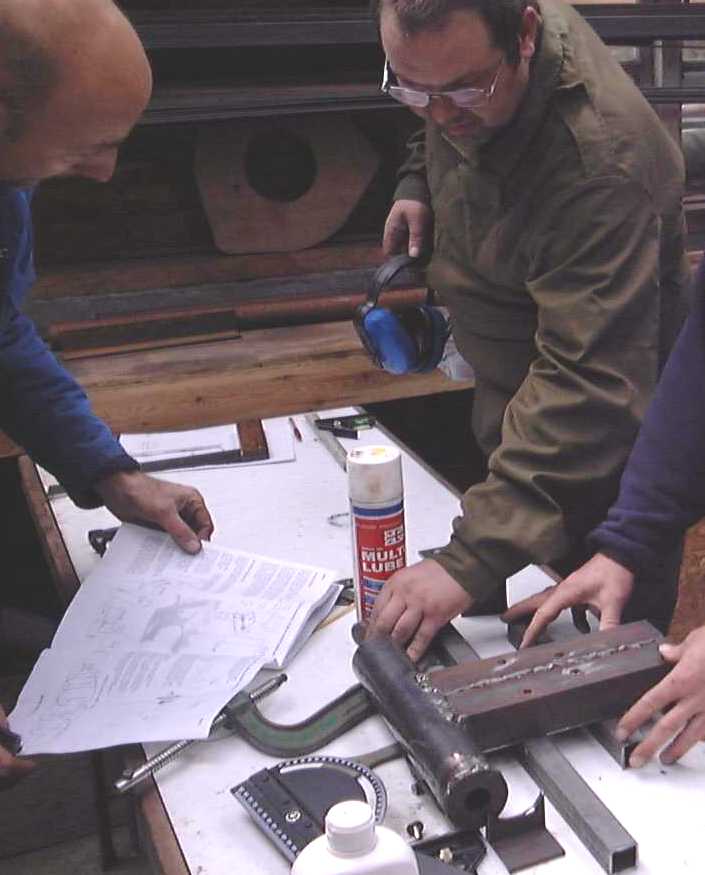 Keith and
Allen set up the stator lugs on the table, using box section steel to space
them the right distance from the alternator bracket. I did not get
many pictures of the metalwork. Later the job was placed on the welding
bench in the same way to tack the lugs. This approach helped to get
the lugs more or less in the same plane. They always move a little
during welding though.
Keith and
Allen set up the stator lugs on the table, using box section steel to space
them the right distance from the alternator bracket. I did not get
many pictures of the metalwork. Later the job was placed on the welding
bench in the same way to tack the lugs. This approach helped to get
the lugs more or less in the same plane. They always move a little
during welding though.
Duncan and Nis cutting out fibreglass cloth for the magnet rotors.
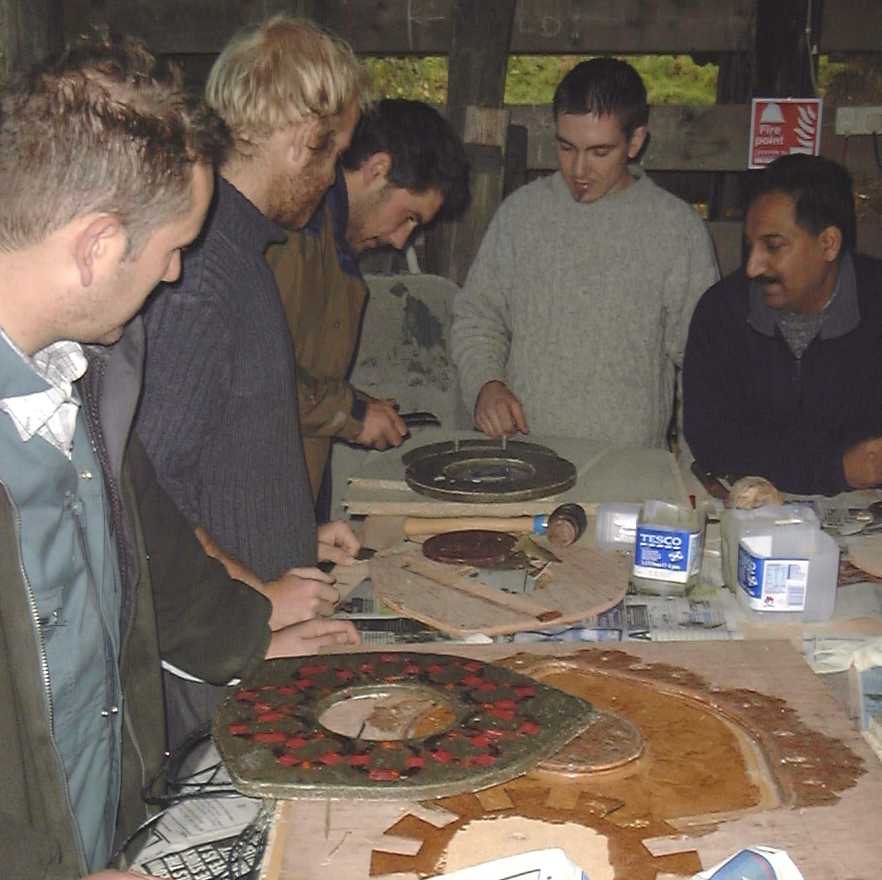
 Ross and Guillaume doing
the stator dry-run.
Ross and Guillaume doing
the stator dry-run.
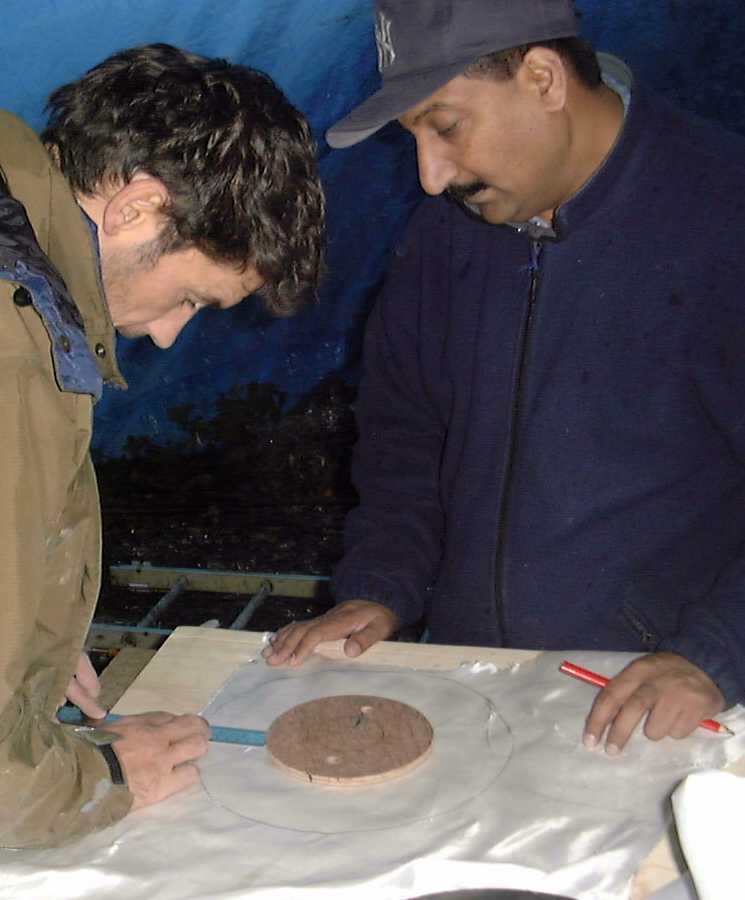
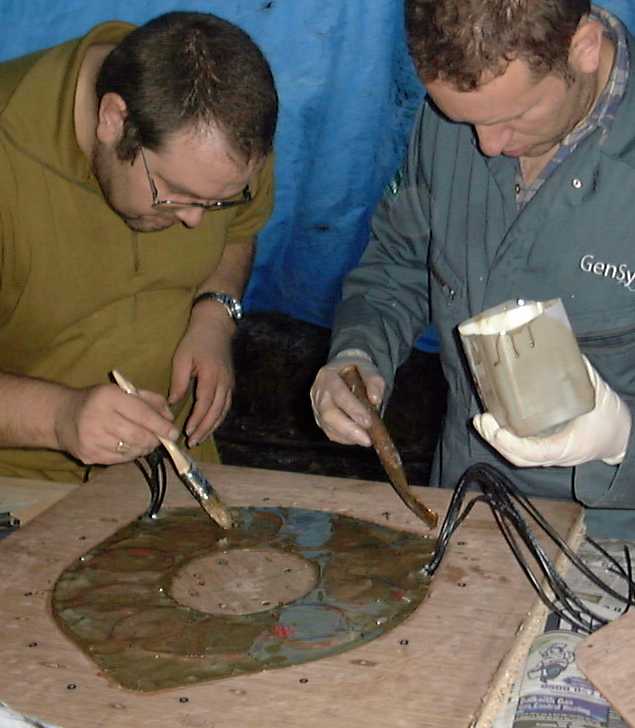
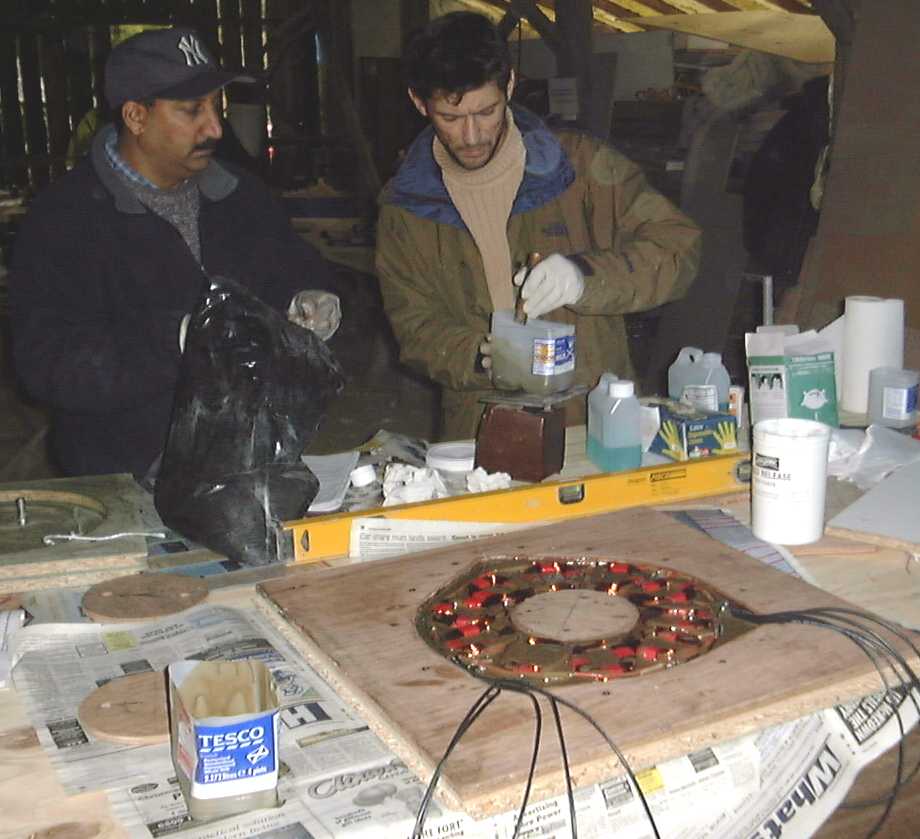 Nis and Duncan mix
some resin.
Nis and Duncan mix
some resin.
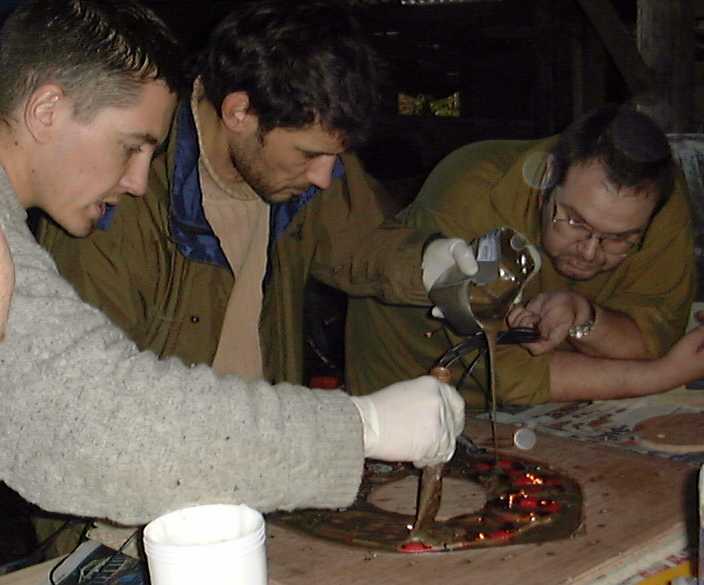
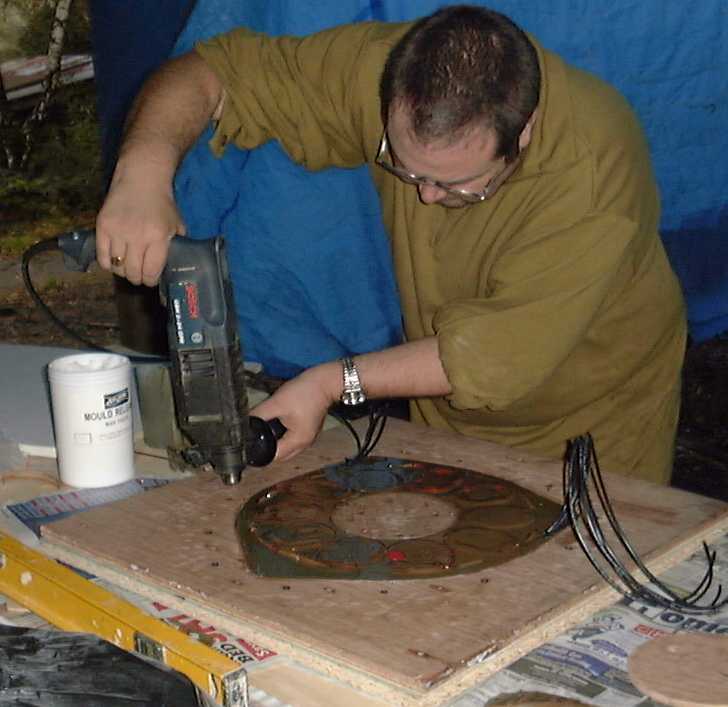
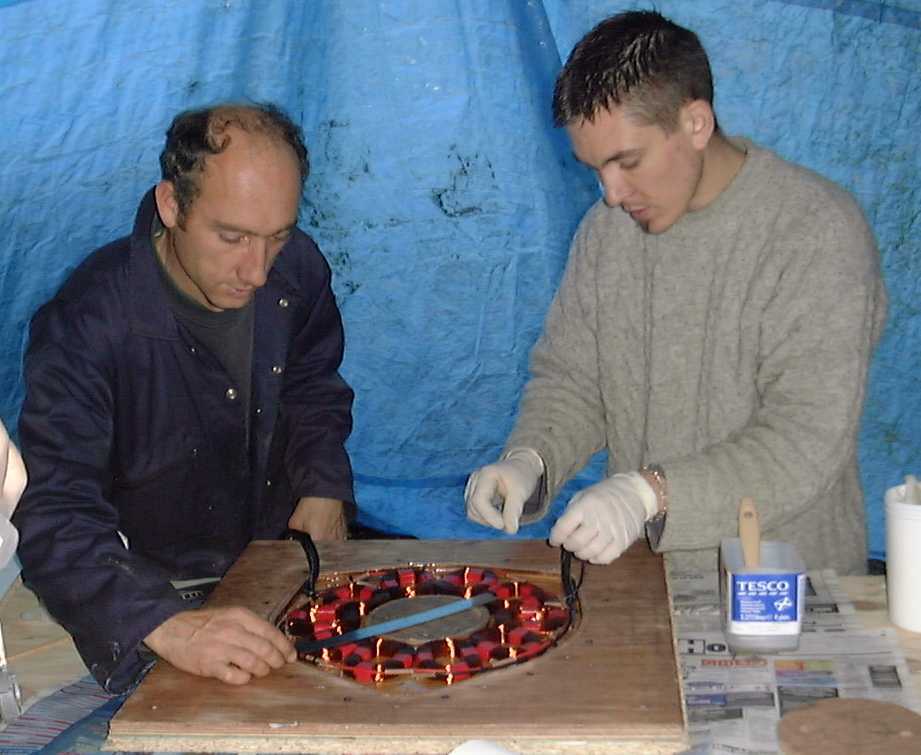
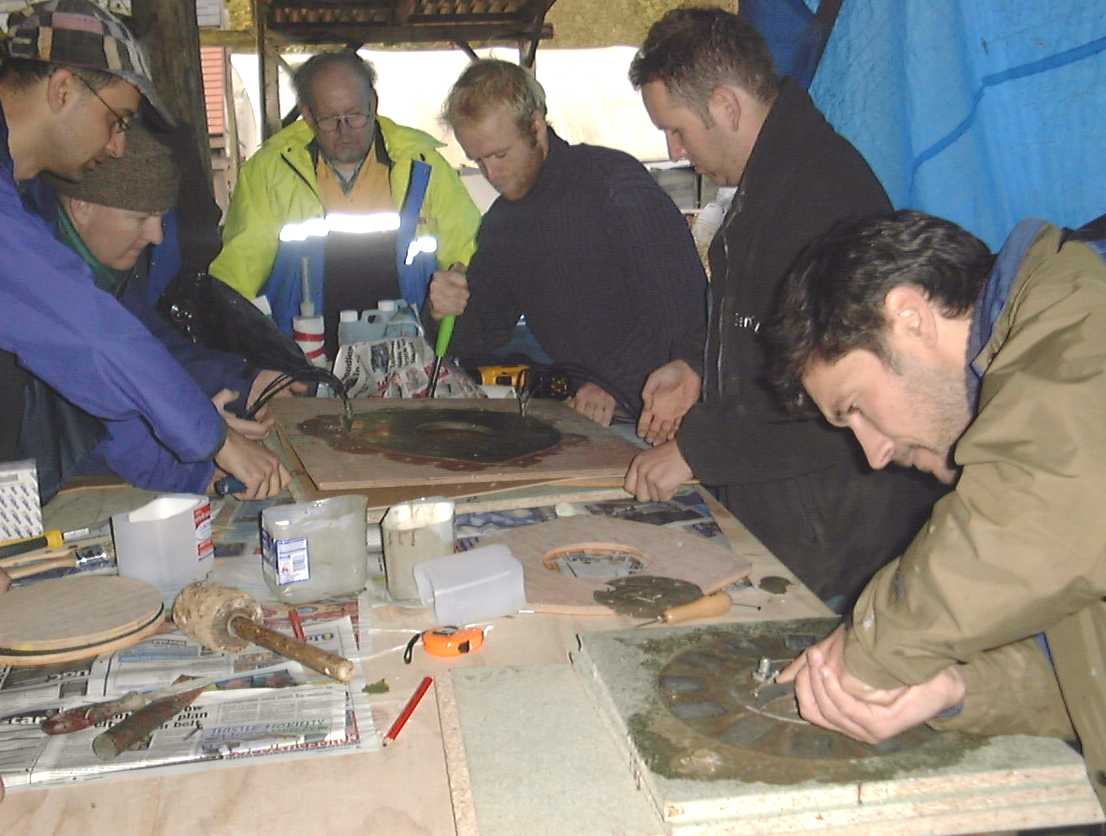
Putting in the resin and vibrating the bubbles out. The SDS hammer
drill works nicely for vibrating the mould if you take the chuck off it.
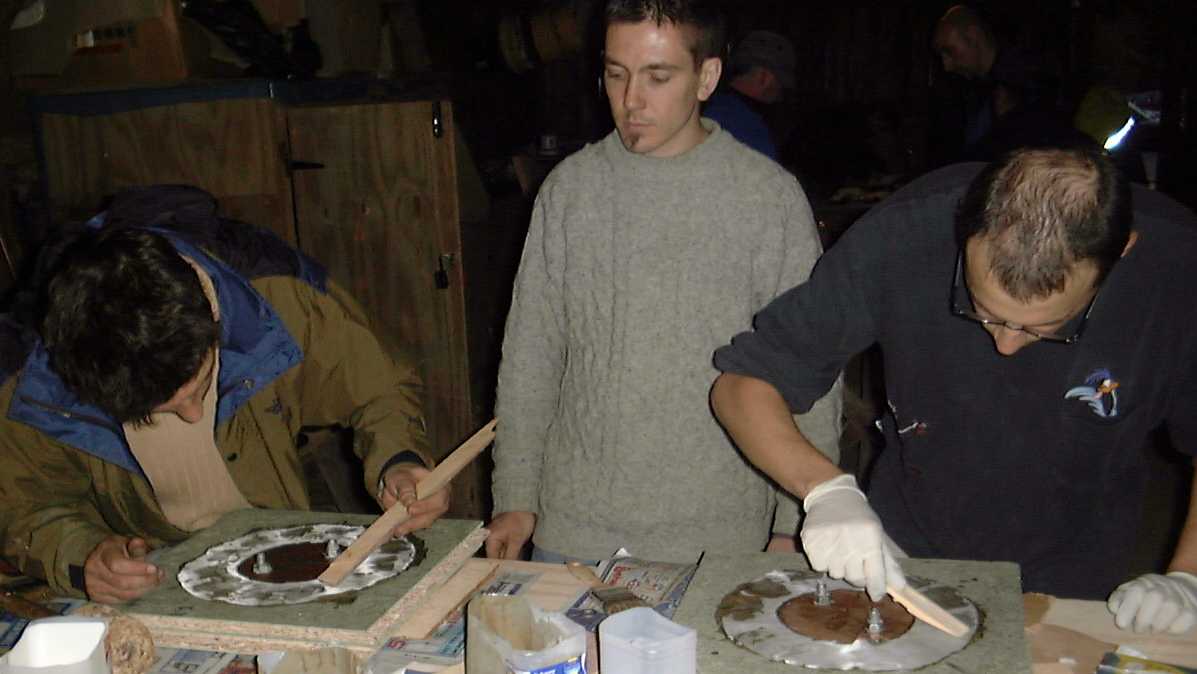
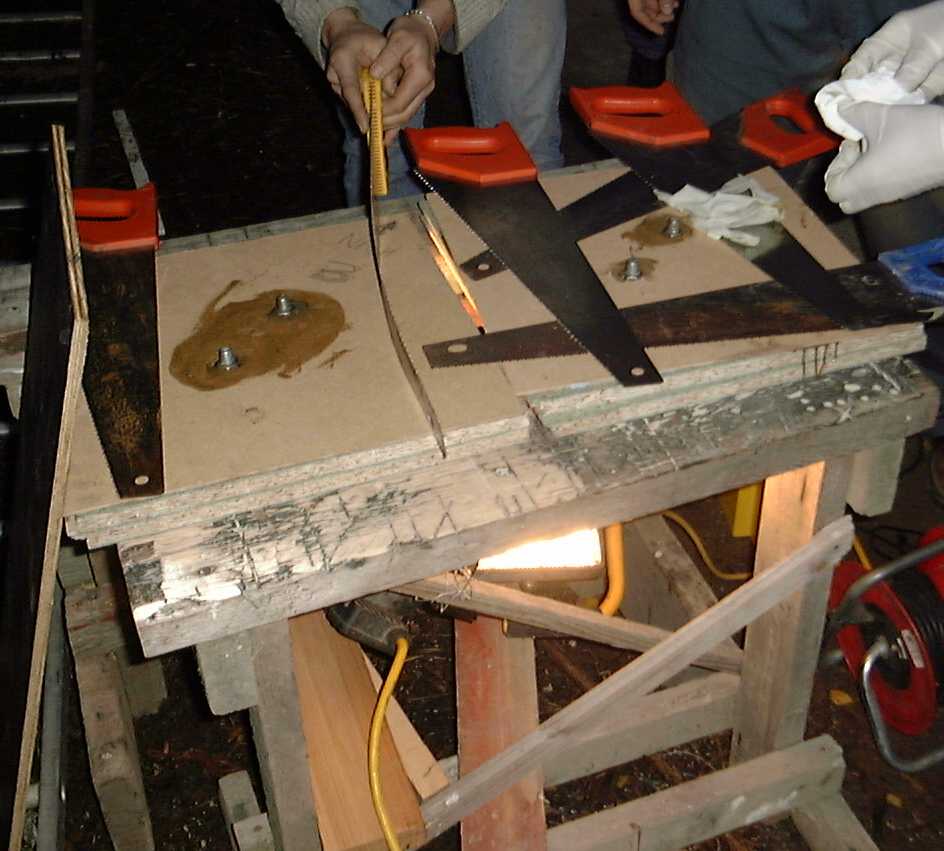
Saw blades a good fro clamping the lid down onto the magnets.
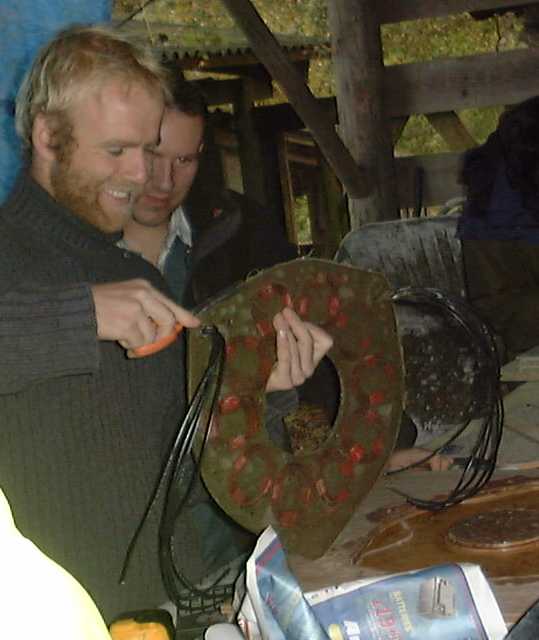
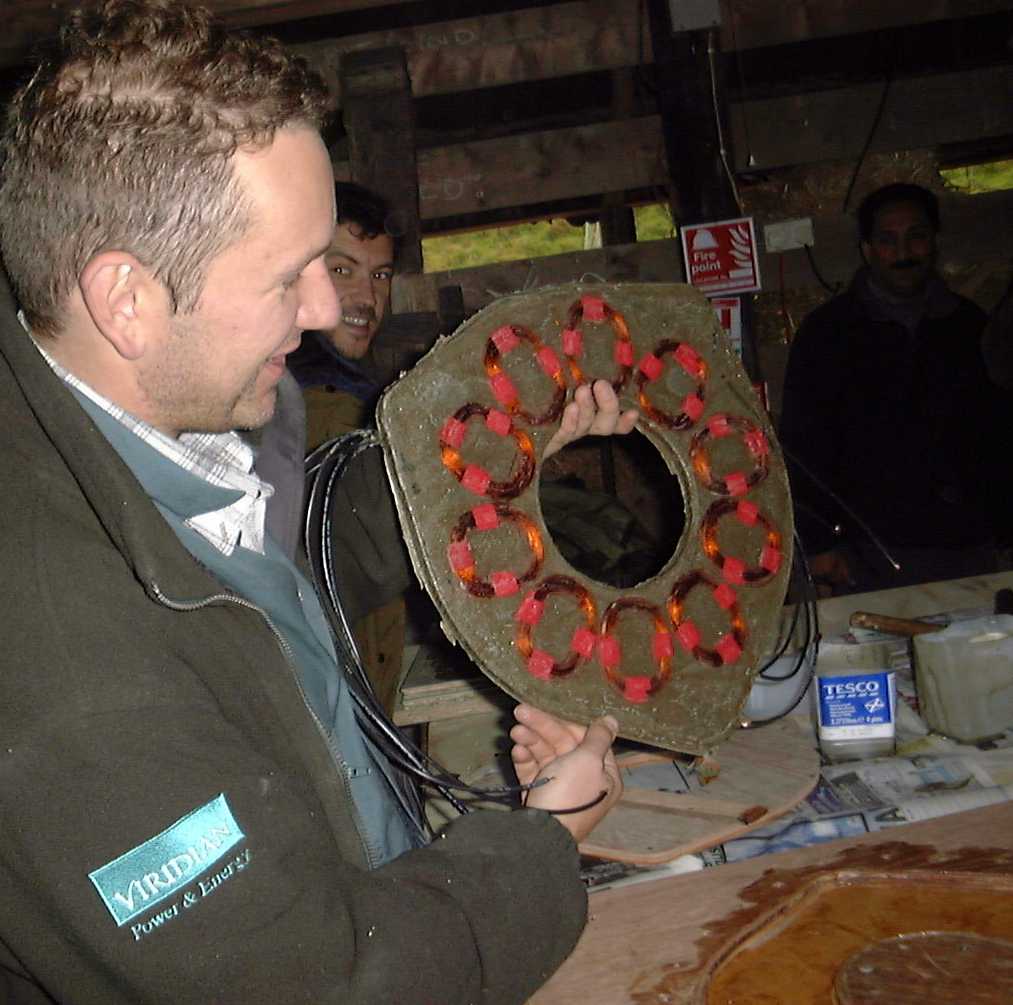
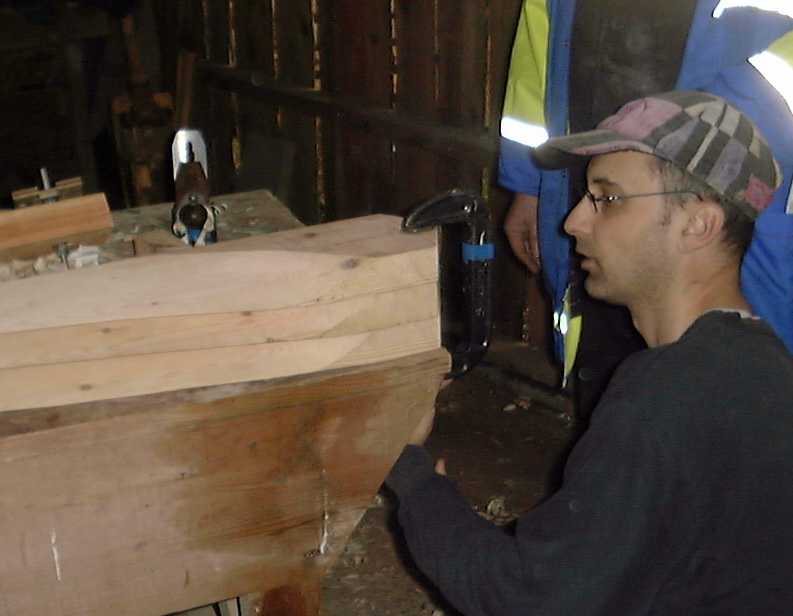
Getting stuff out of the moulds.....
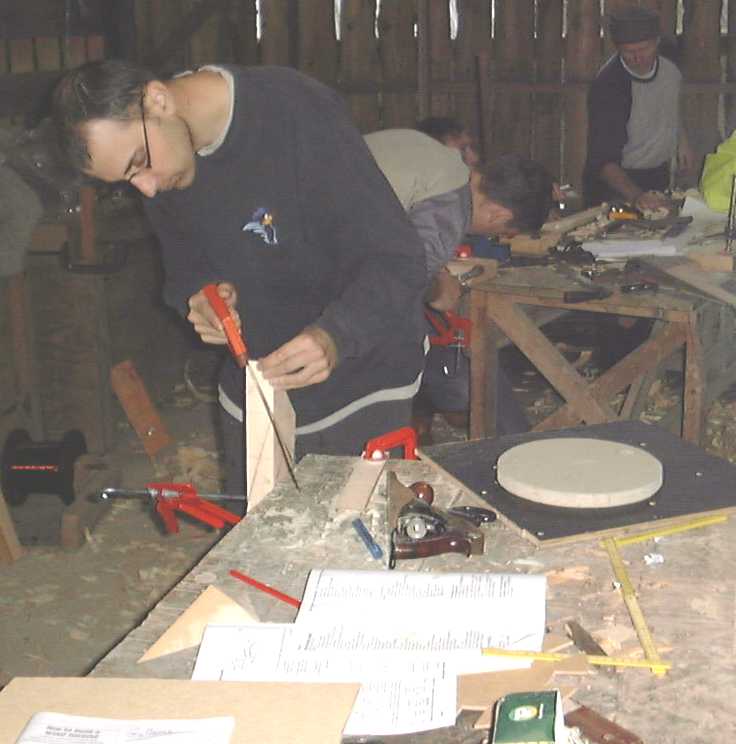
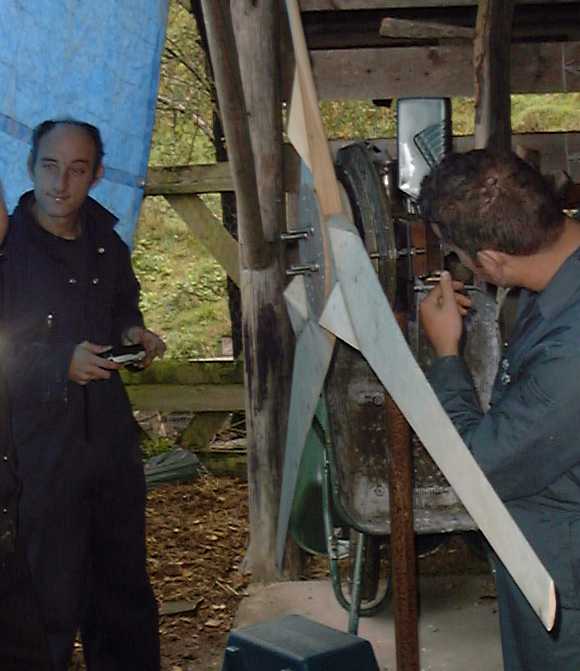
Richard cuts blade wedges, and checks the roots for correct angle.
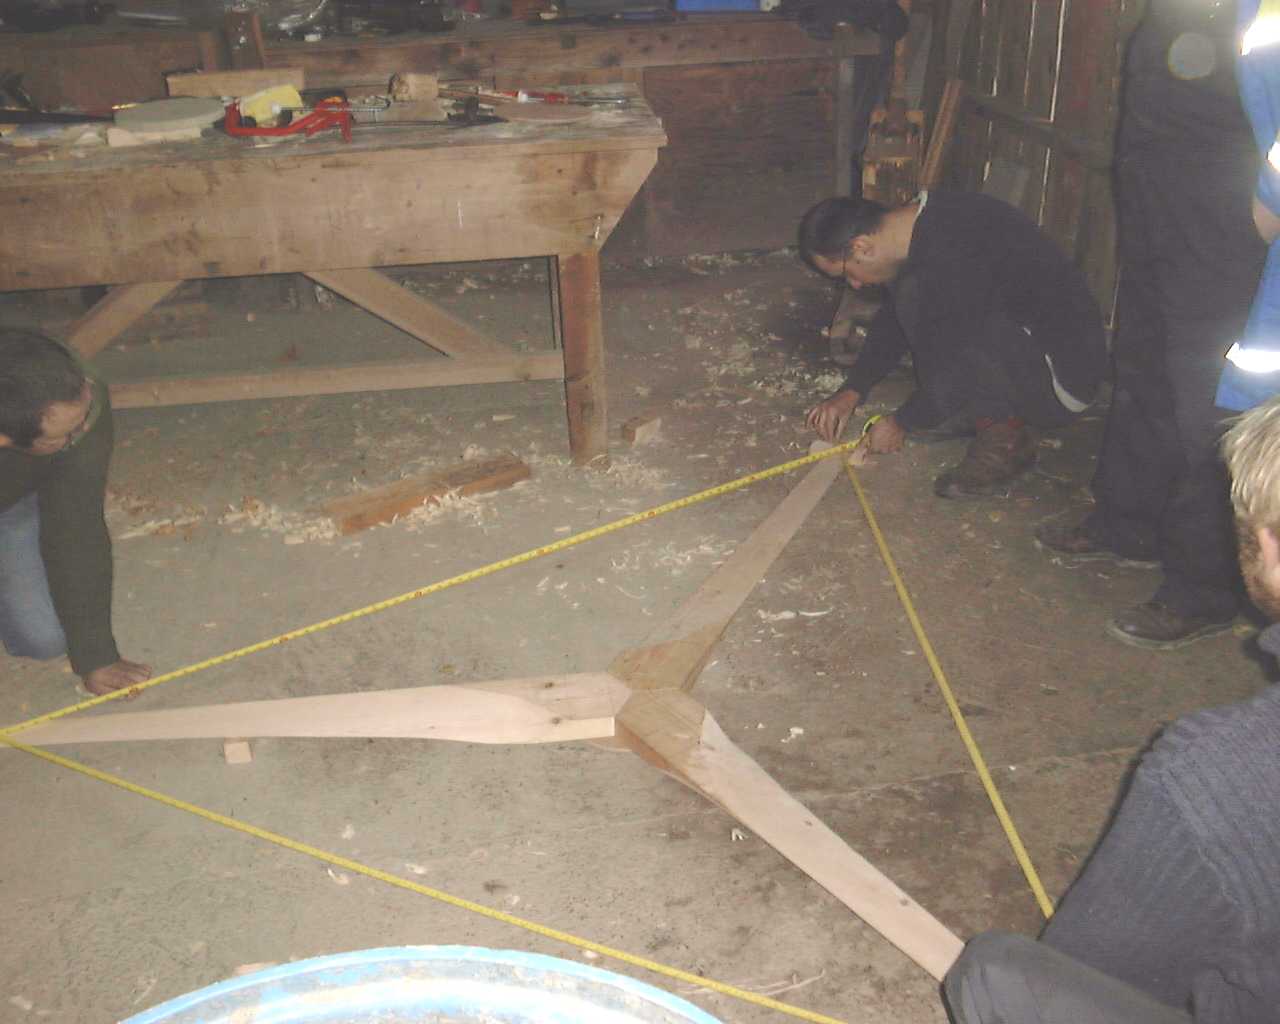
Setting up the tips using three tapes at once.
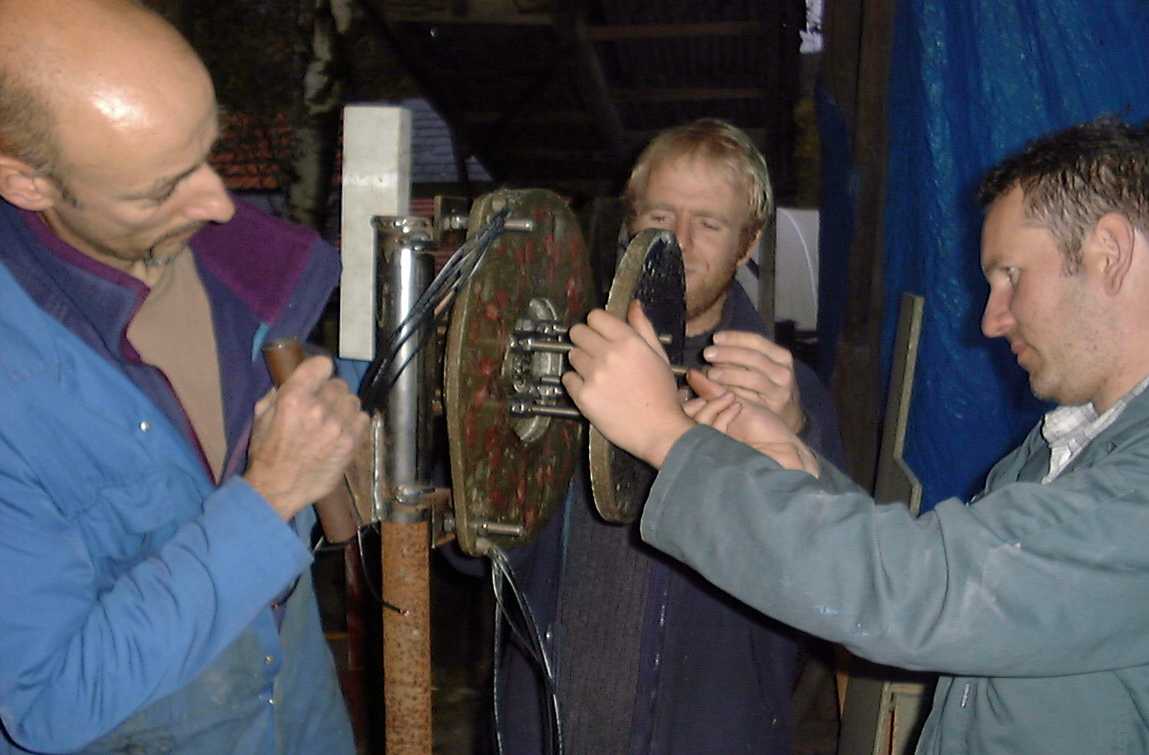
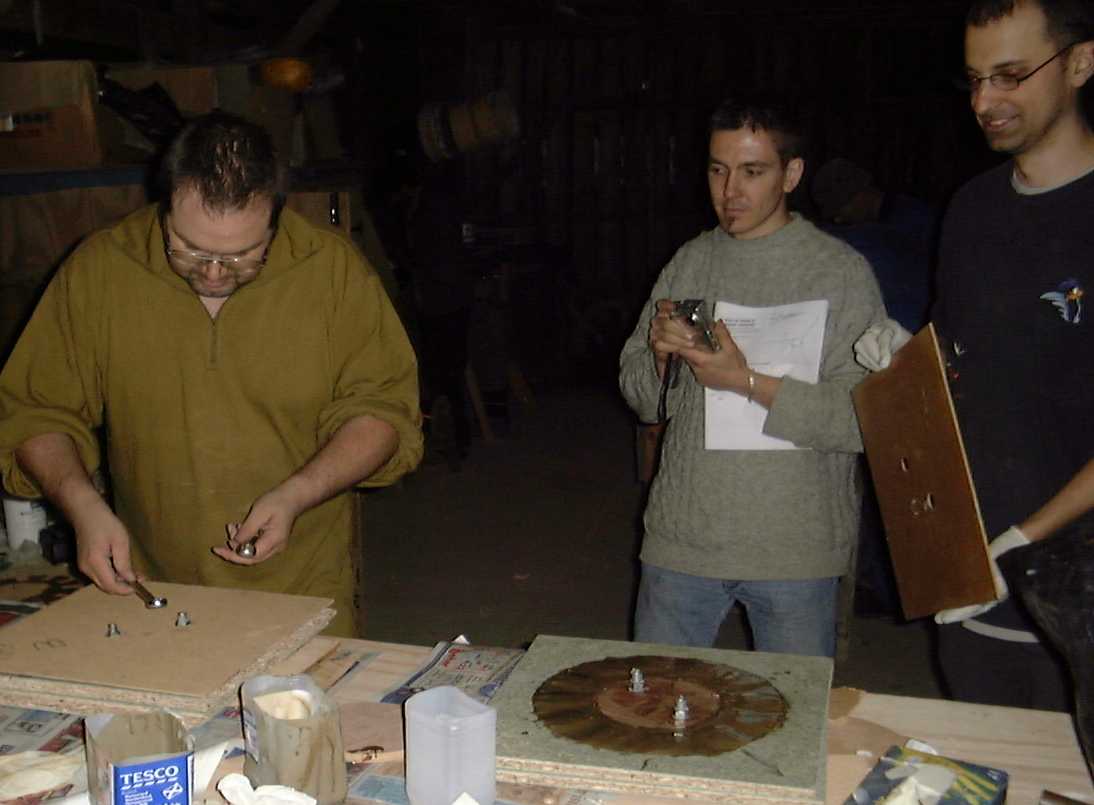
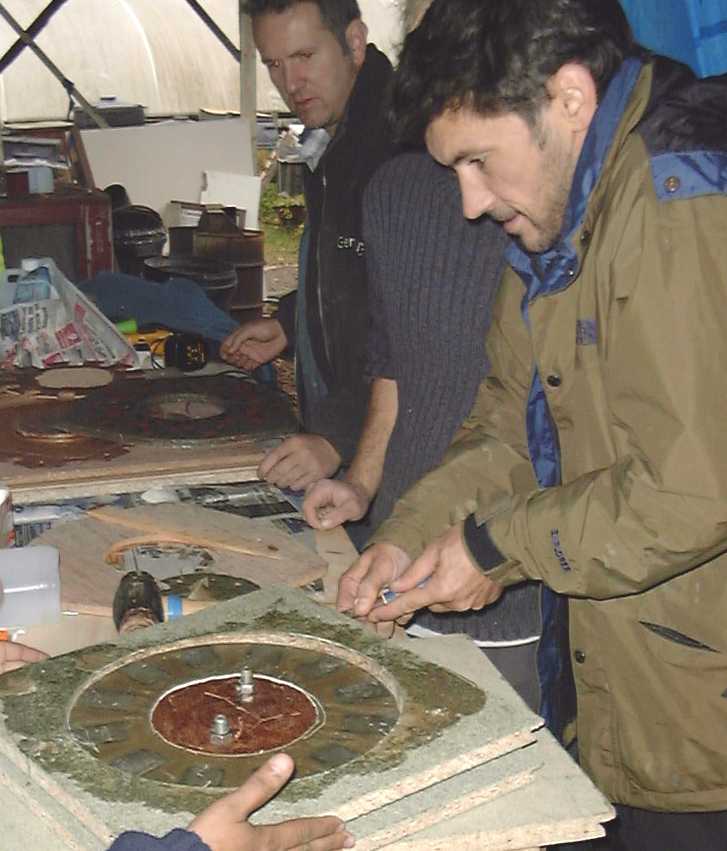
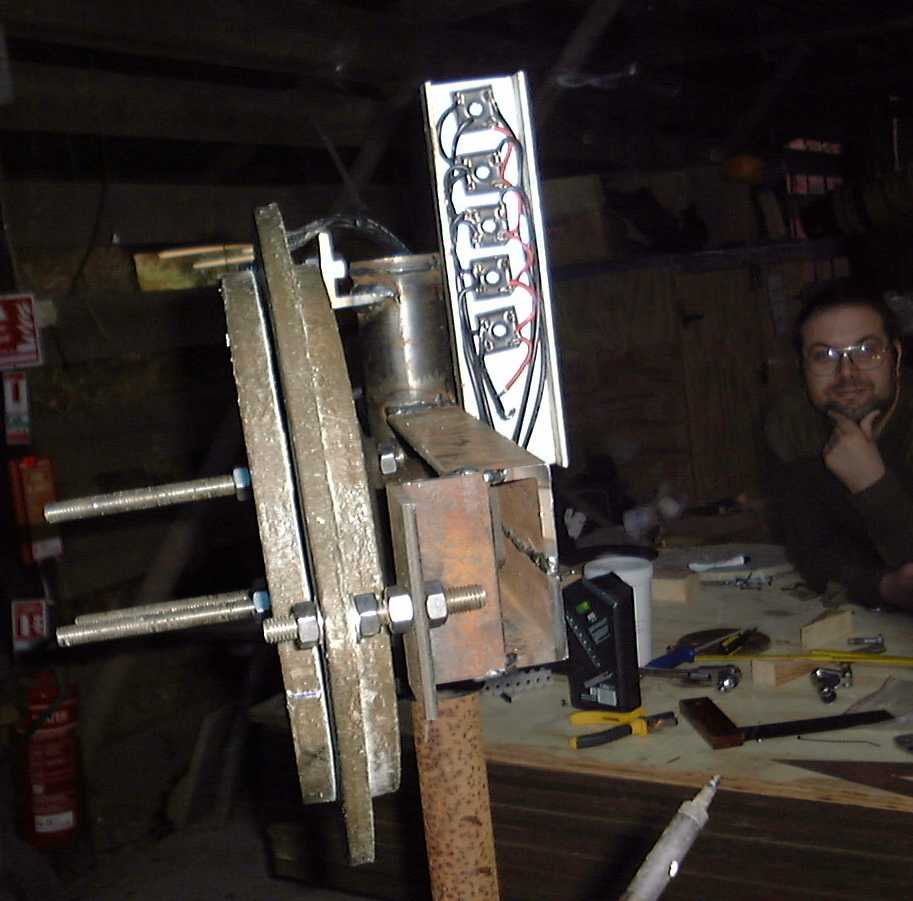
Alternator assembly. We lost the index marks on the disk (flooded with resin) so this was a bit of a process of trial and error.
I have started to think about getting the holes cut out with a laser at the same time as the disk is shaped. This could be more precise than drilling by hand.
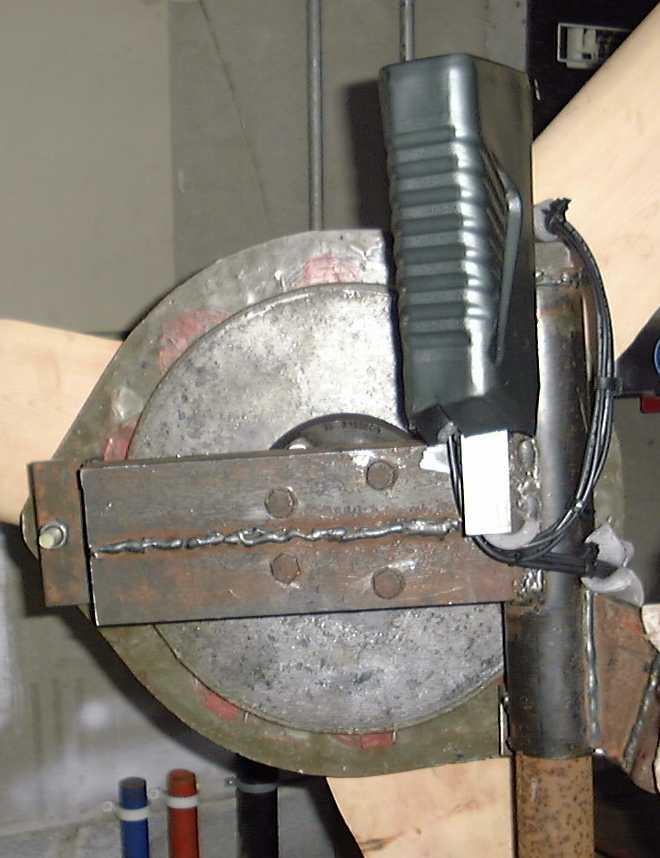
The rectifier assembly. I find that people are not happy with the use of a plastic bottle here. I am being told to use a sealed aluminium box with silicone grease on the rubber gasket. It is true that I do have some problems with the rectifiers, and better weatherproofing would not hurt them.
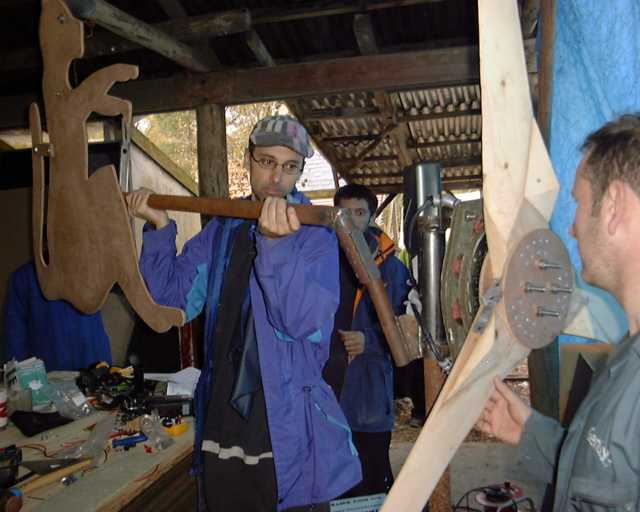
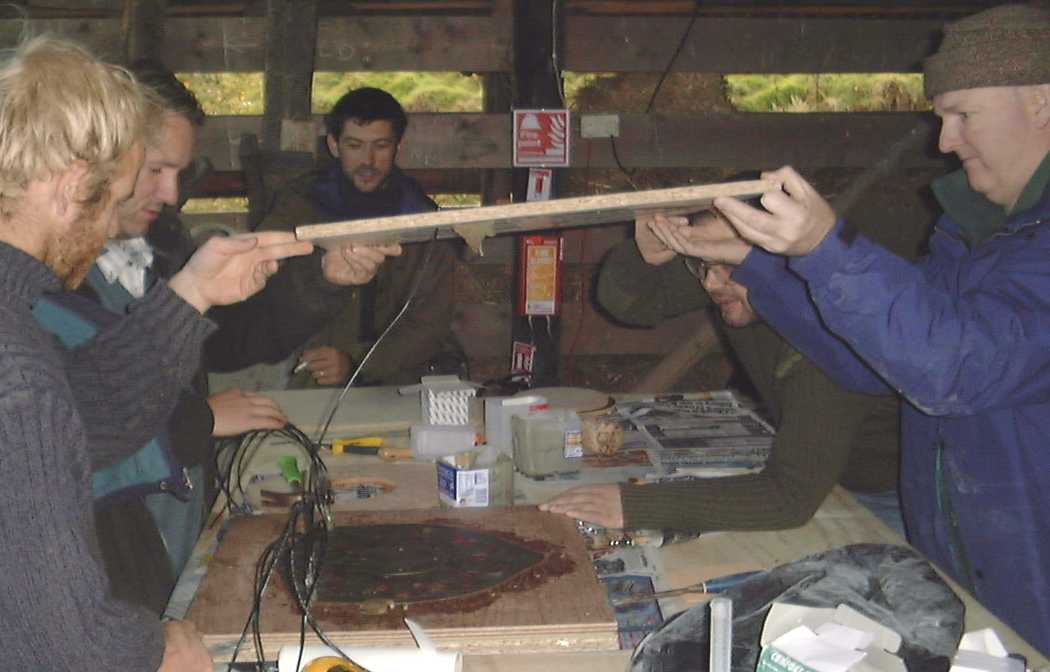
Balancing the blades and fitting the tail. Richard invented the amazing shape for the tail vane. (it's a Cat.)
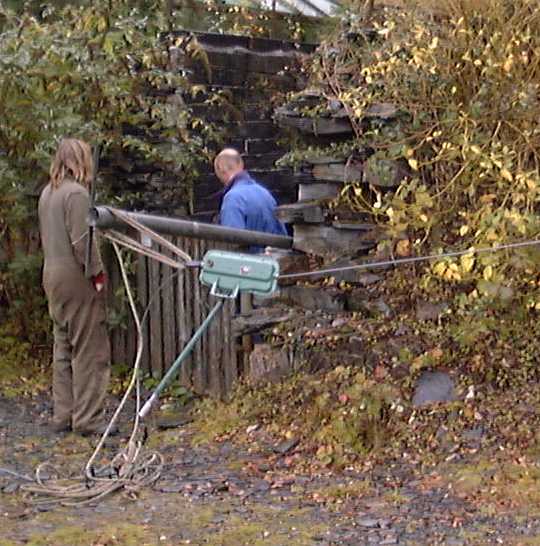
Katie and Keith straightening out an old met mast for use as the windmill
tower. Below Barry and Katie get started on site with the steel anchor
spikes.(pictures by Fergus)

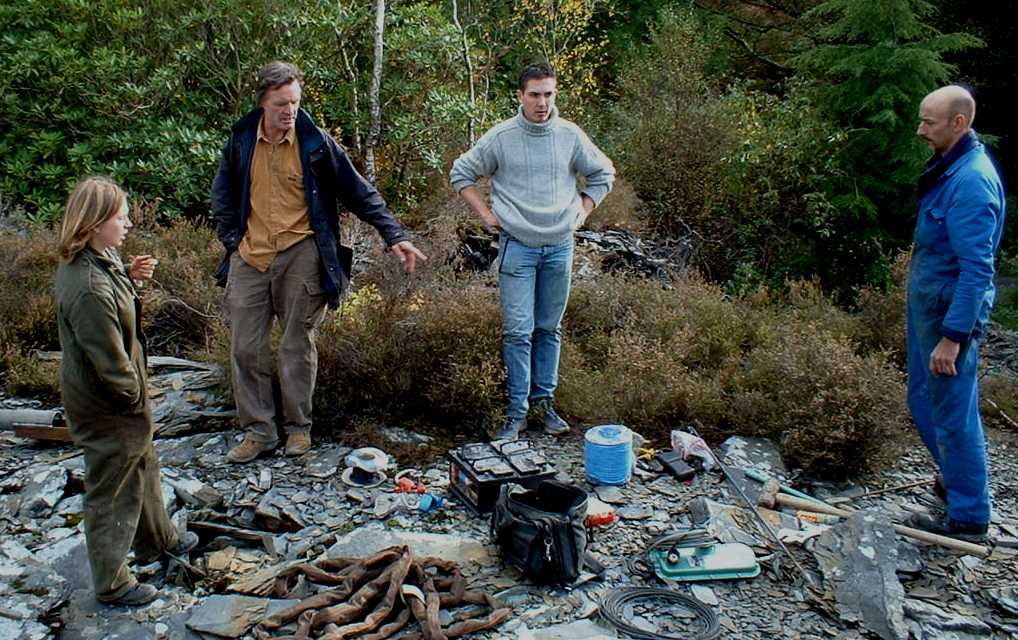
Making a plan. Katie, Hugh, Guillaume and Keith
The machine flies. We got up to about 3 amps at 25 volts.
At least there was a little wind...
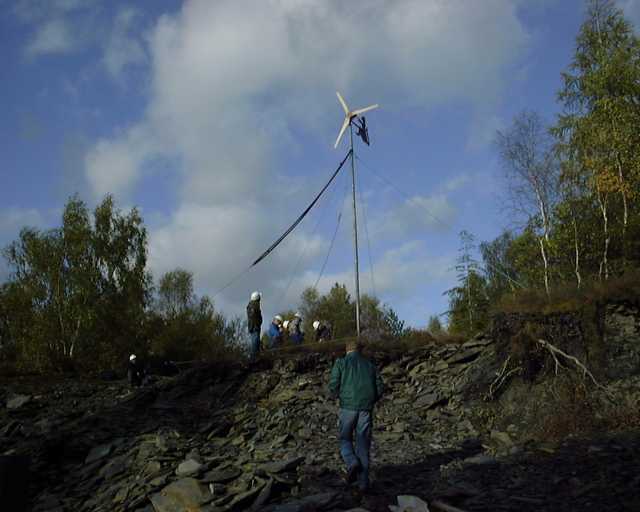
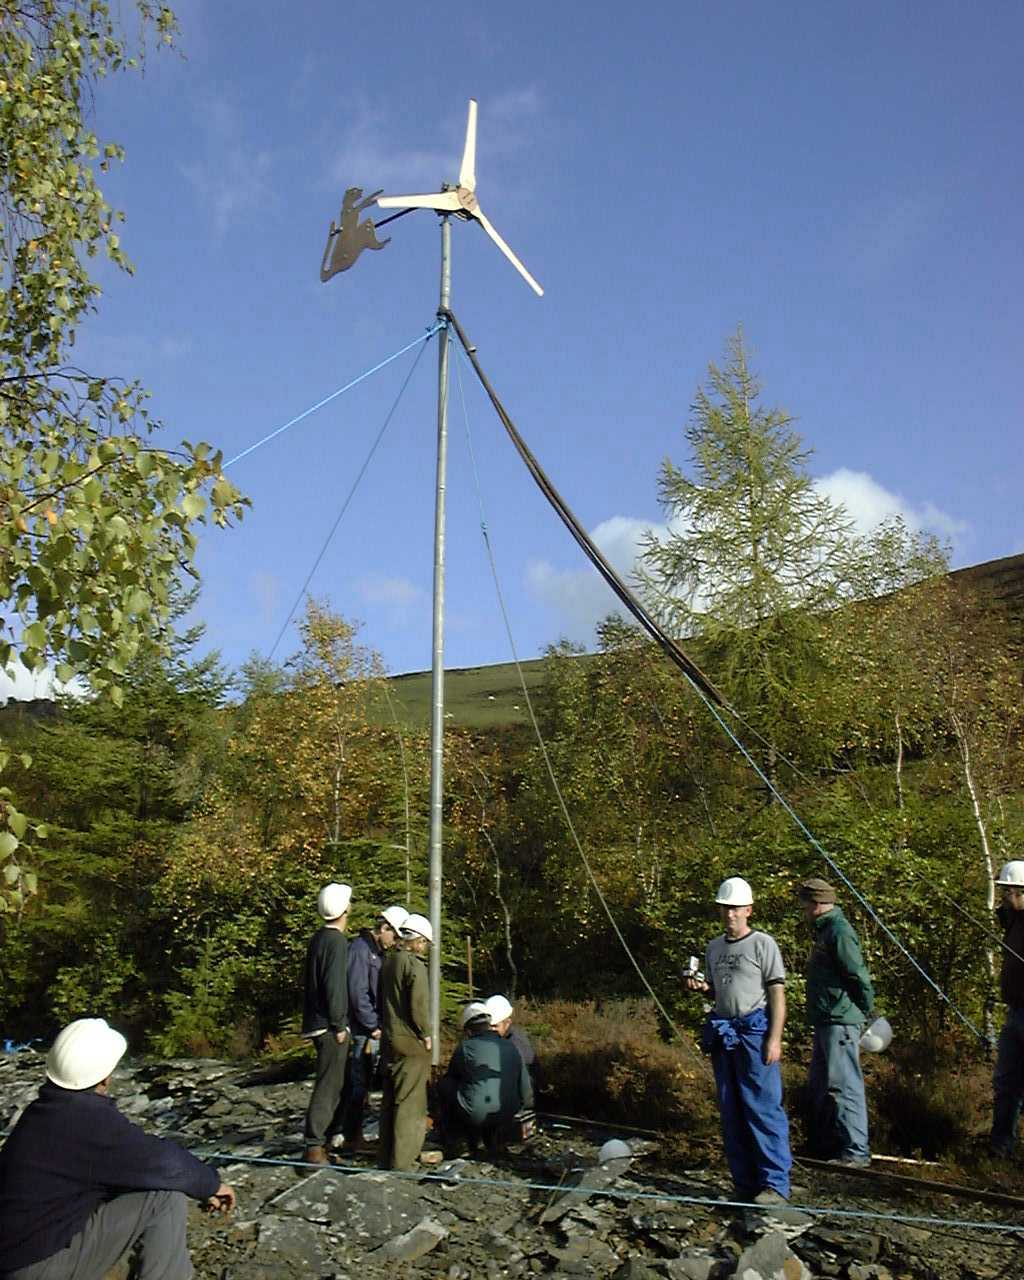
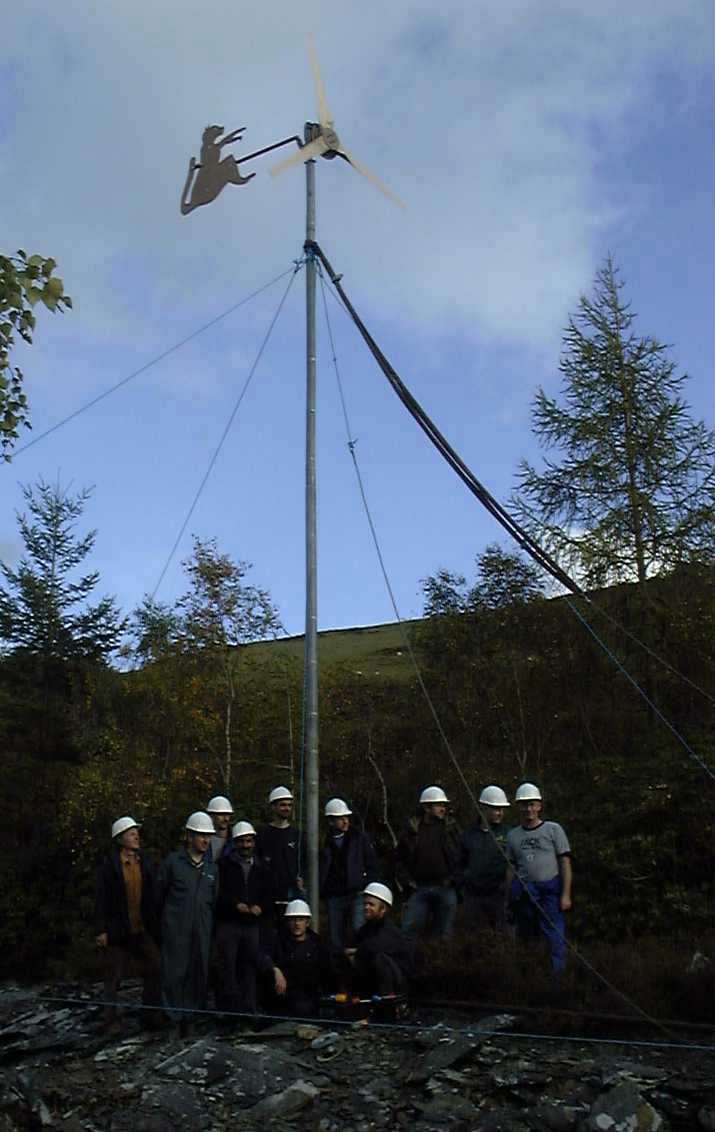
The finished machine will remain on site as a demo for CAT.