CountZ.com
since 27th August
2000
(text + pictures by Hugh)
This is a series of colour pictures showing
the process of carving a small wind turbine blade.
The blades in this example are very small, but the same method
works for blades up to 2 metres in length.
Click on a colour picture to see it enlarged
- or you may want to open it in another window.
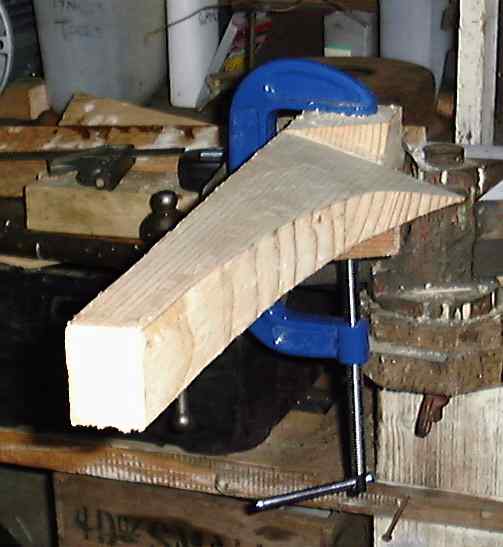
The ideal shape for a high speed blade is strongly tapered at the root.
The dimensions were worked out for each station, using a spreadsheet.
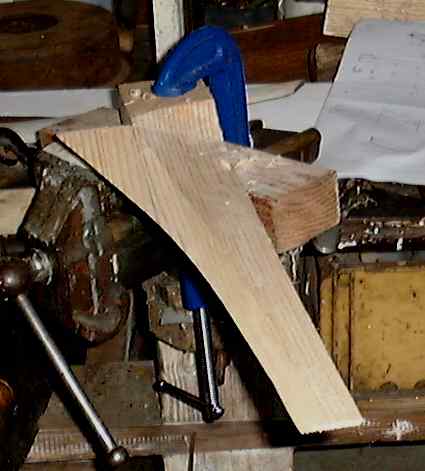
We glued a fin onto the root to achieve the large chord width we wanted.

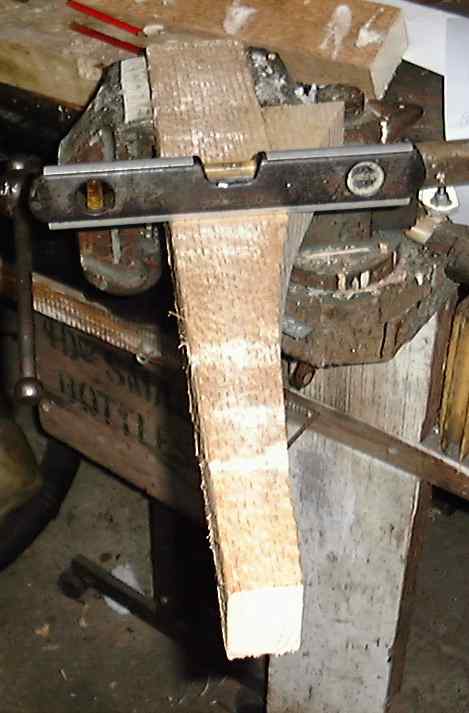
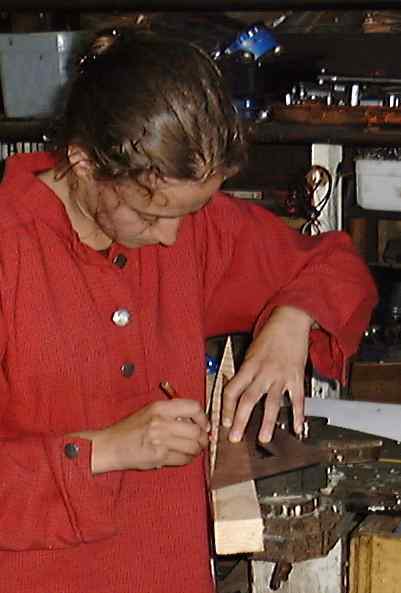
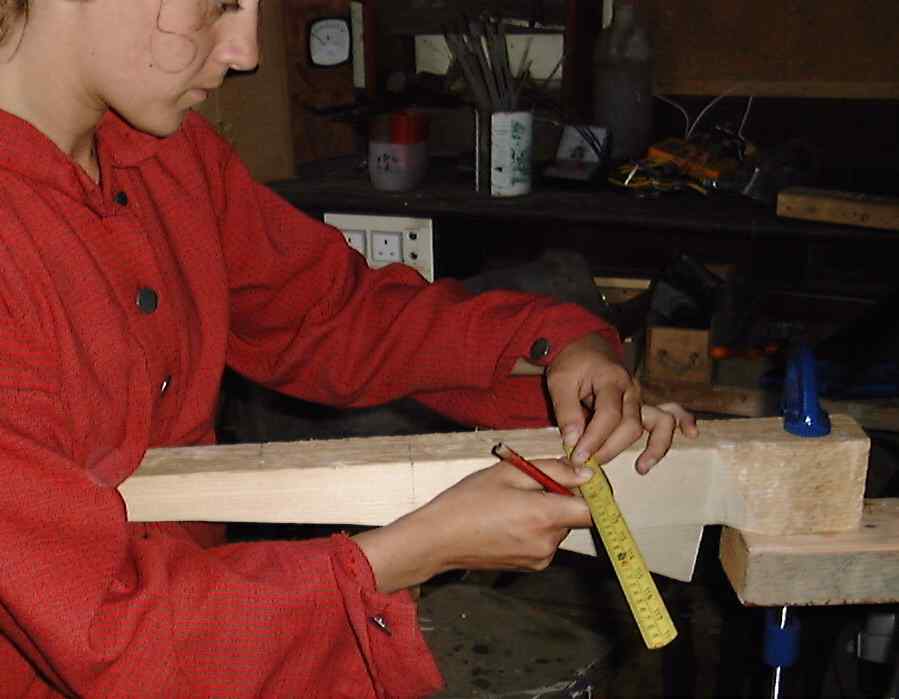
The next steps were to mark each station along the blade,
and then mark the desired width at each station.
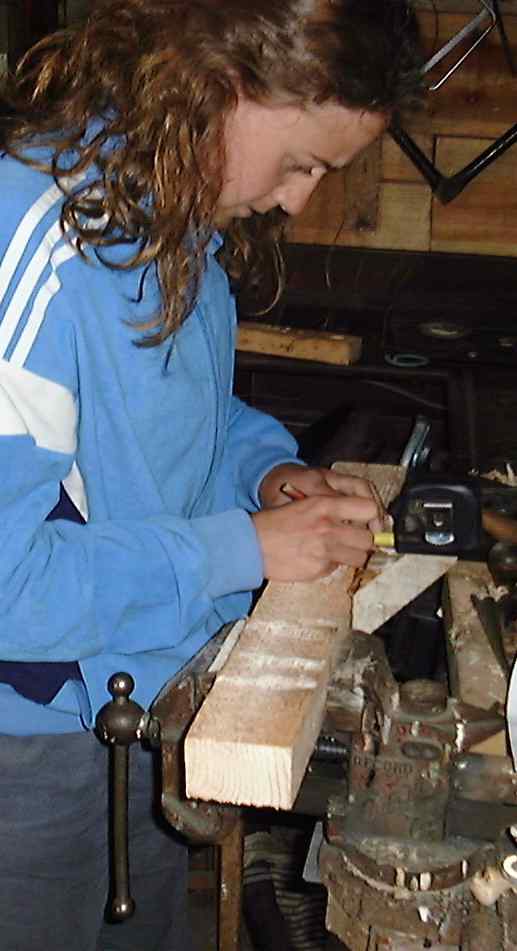 then join up the marks.
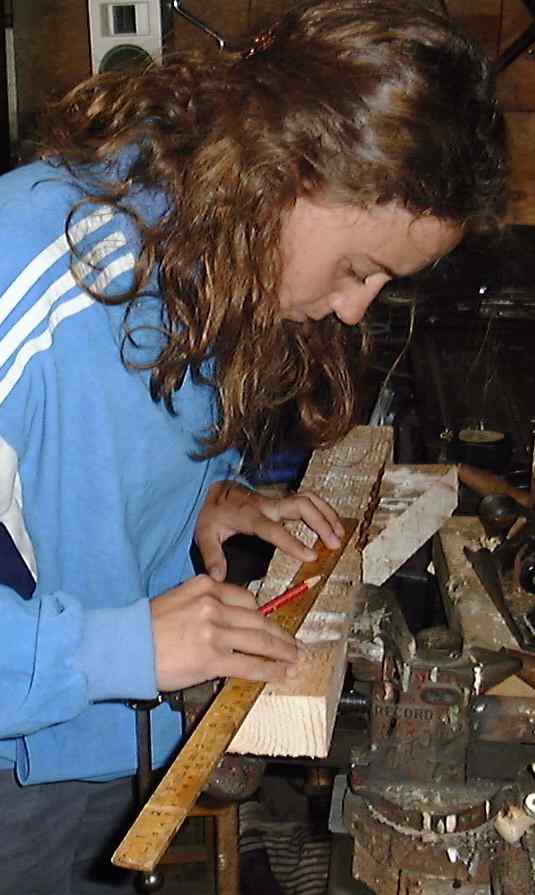
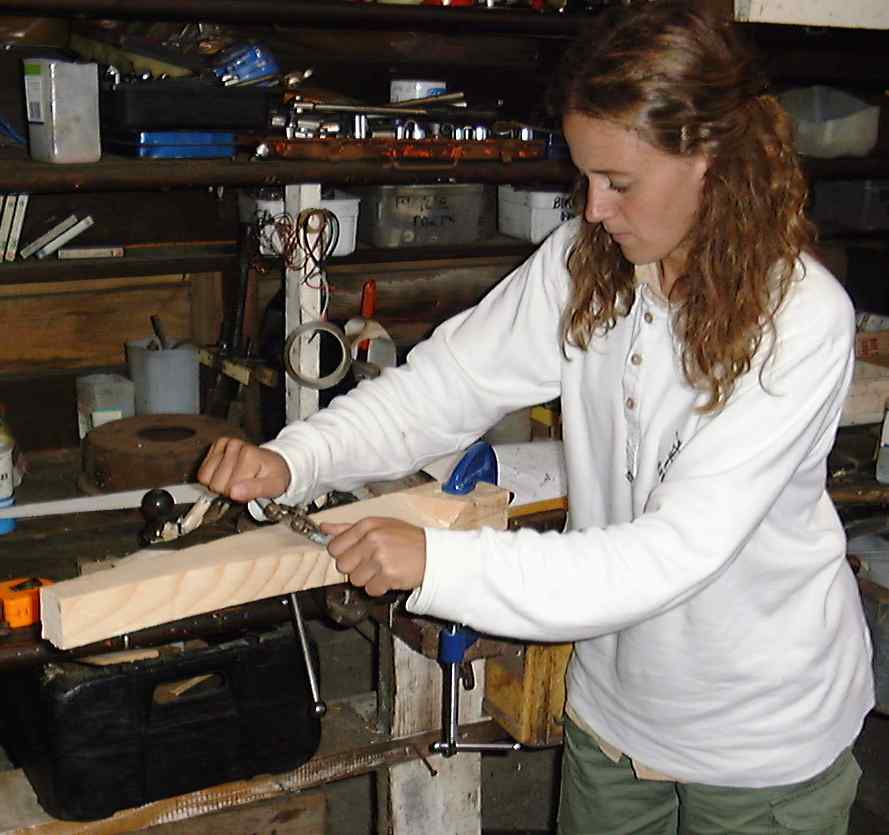
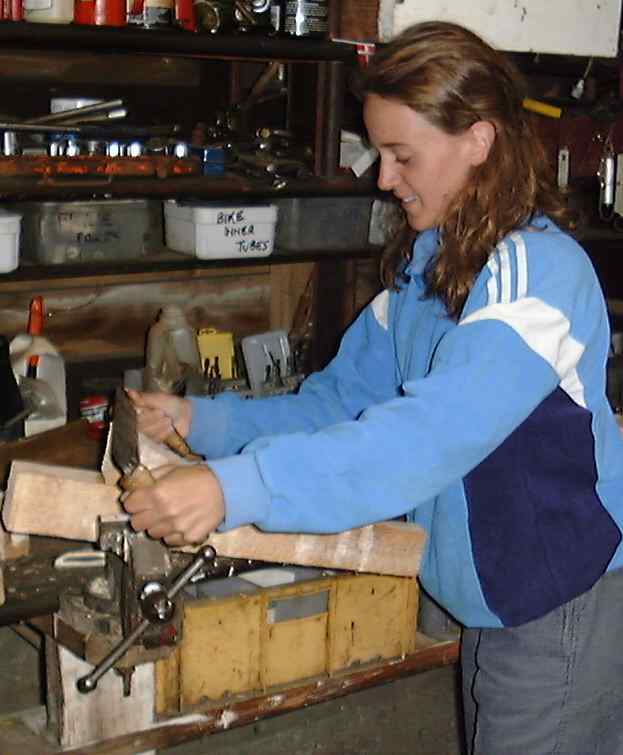
The drawknife is a nice tool to use for shaving it down to width.
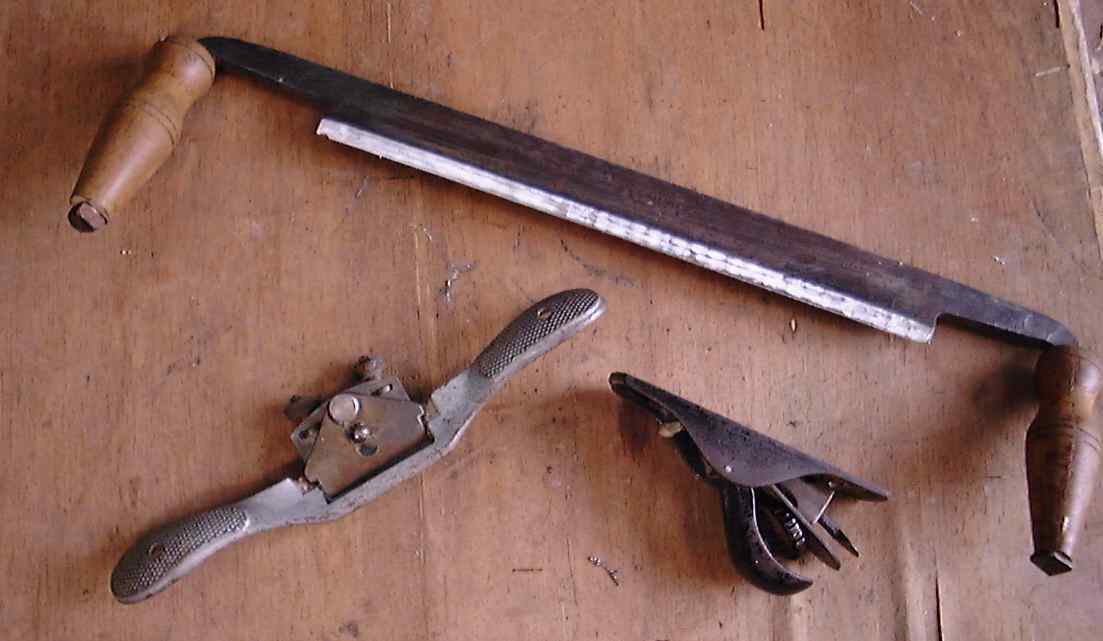
(But a bandsaw is quicker if available.)
 ..
..
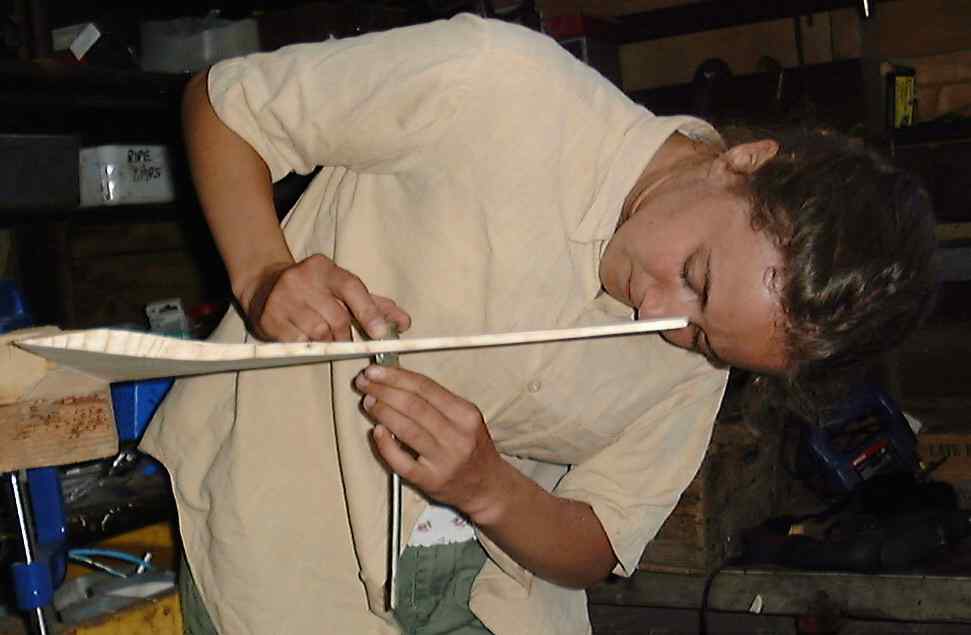
Finish it off smooth and square with a spokeshave.. 
 .
turn it back up on edge.
.
turn it back up on edge.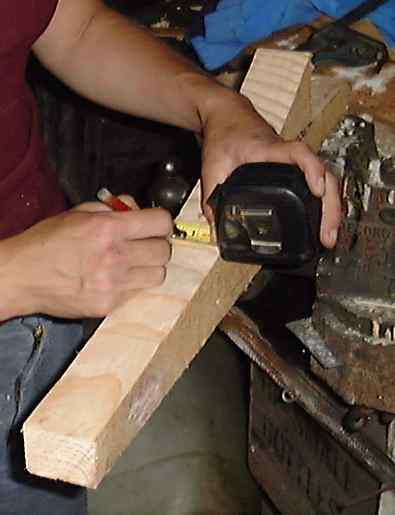
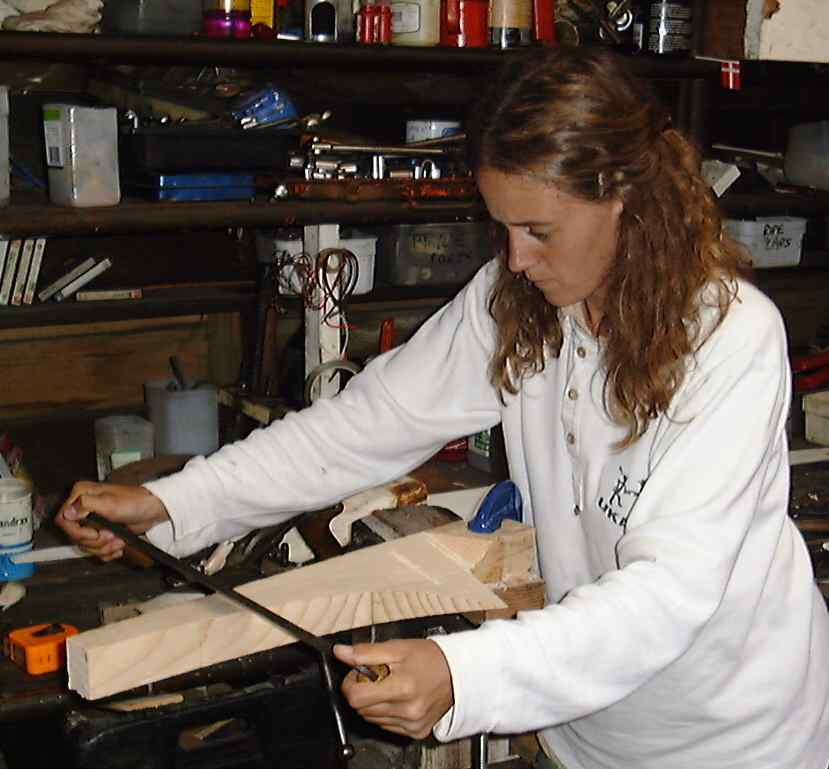
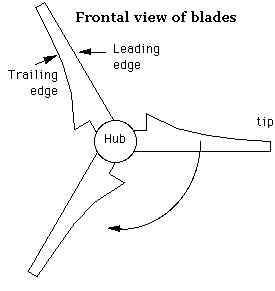
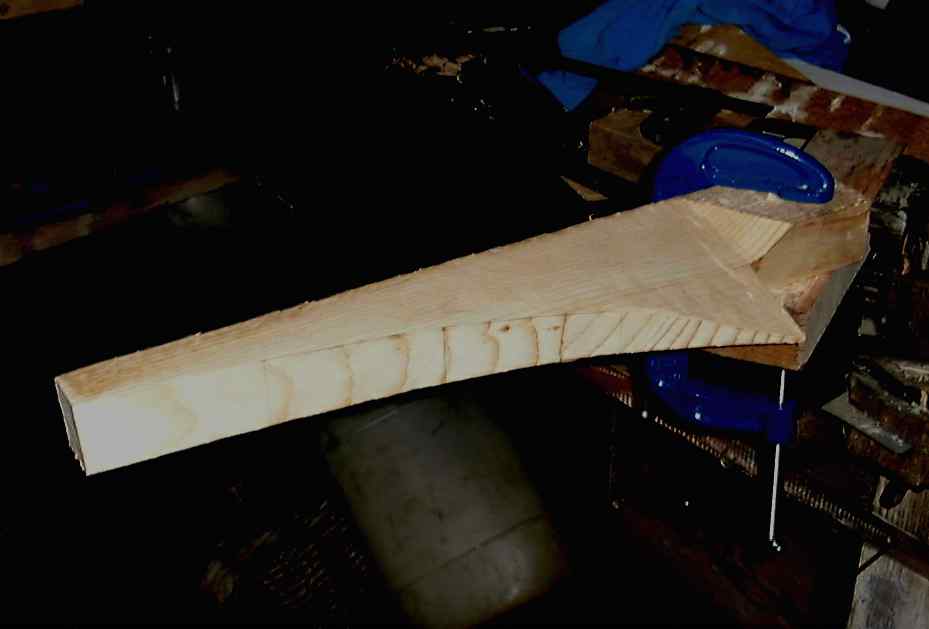
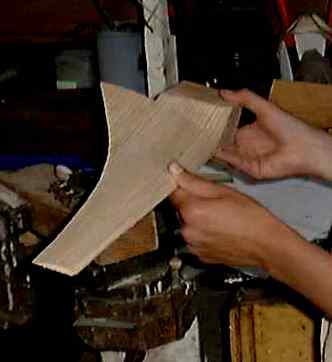
Mark the trailing edge 'drop' at each station and join the marks..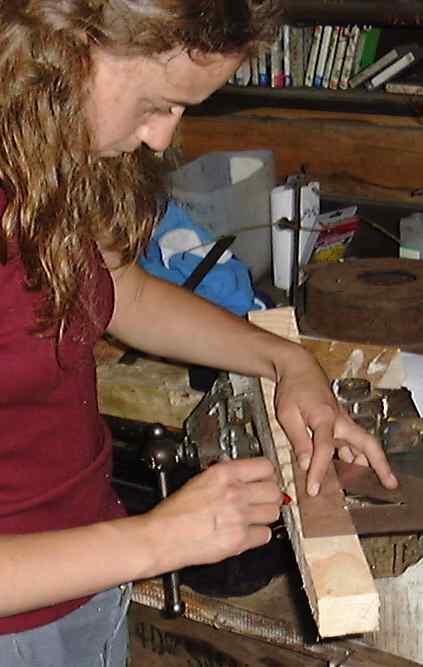
Then lay it down again and carve off everything above the trailing
edge line,
creating a twisted face on the blade
A line across the face from leading to trailing edge should be straight..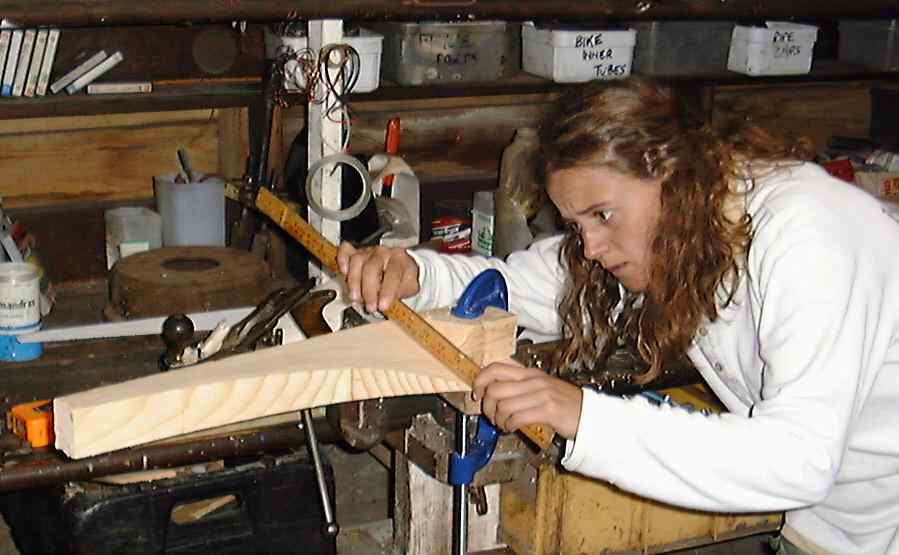
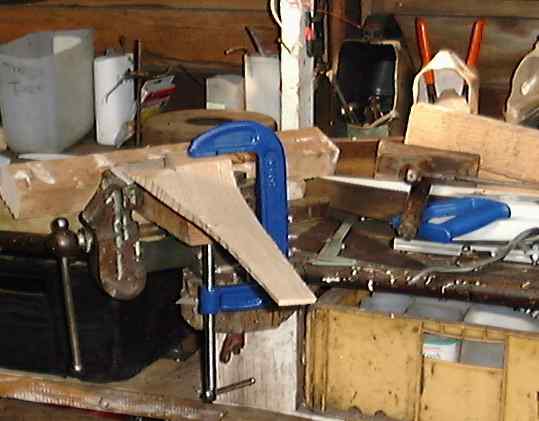
At the root we use a triangular ramp to bring the wood up to full size
again,
for mounting in the hub
 ..
.
..
. 
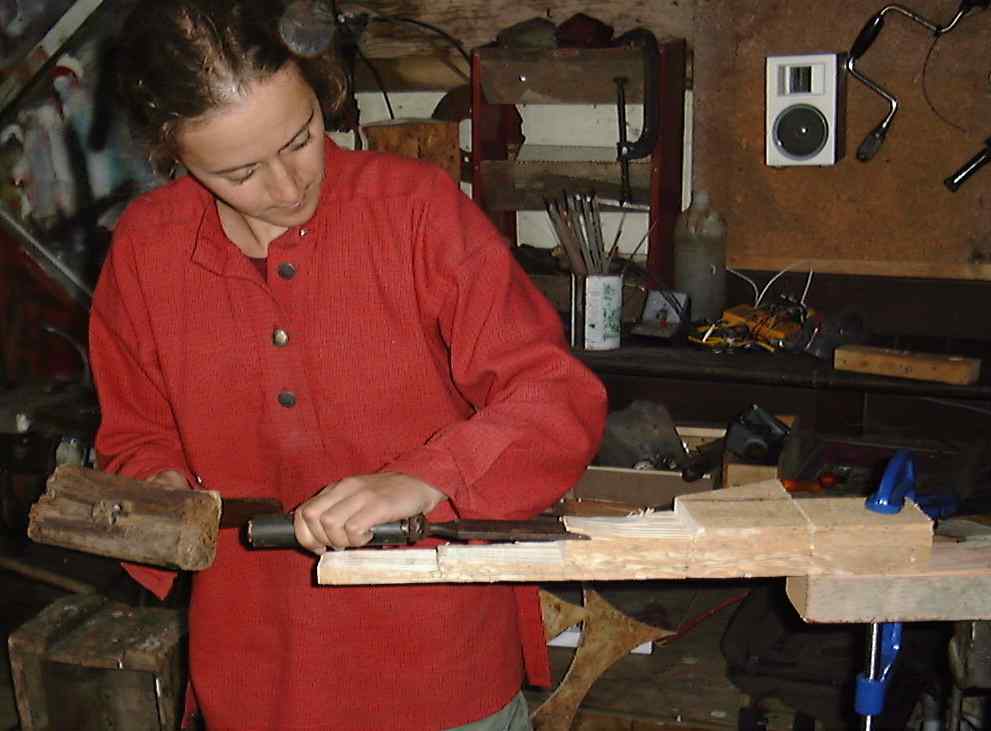
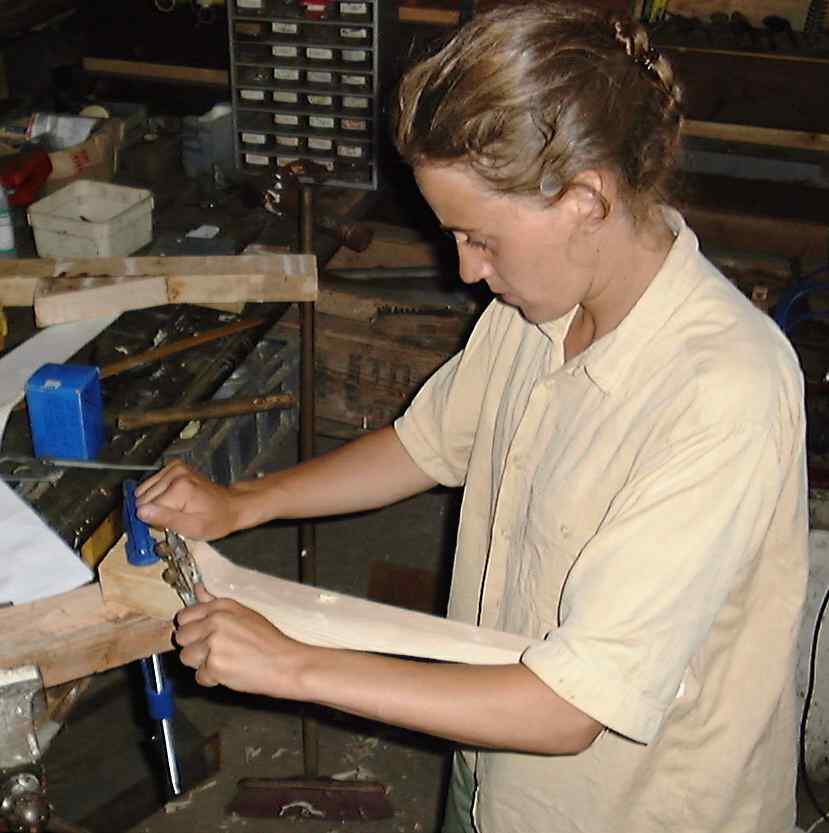
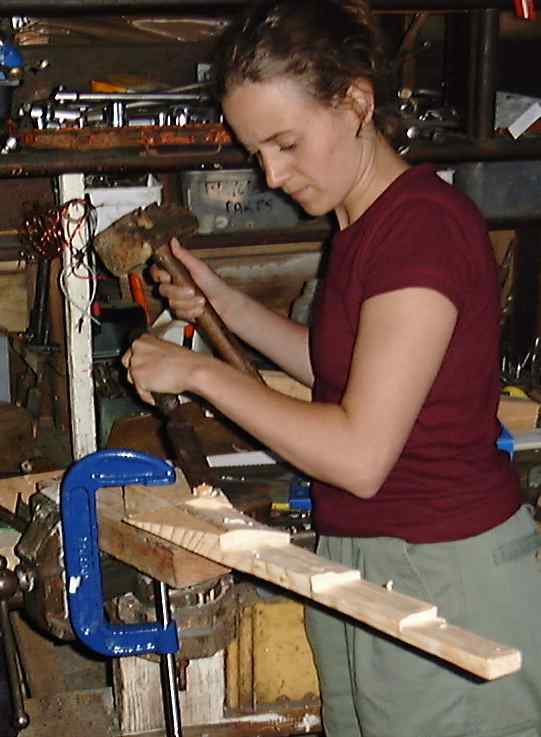
Turn the blade over, and remove all the wood above these two lines.
Liselotte is using a saw and chisel to roughly hack the bulk of it
off.
and finishing with a drawknife
 ..
..
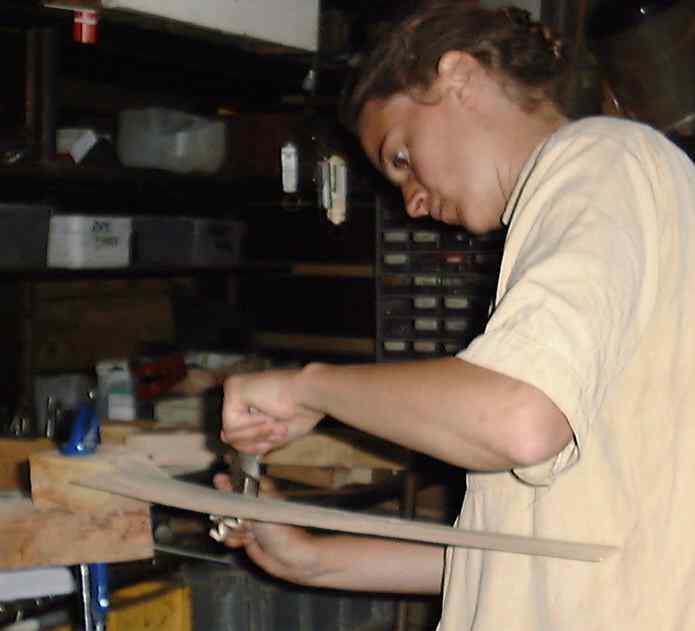
It's getting thinner now
Checking the actual thickness with callipers
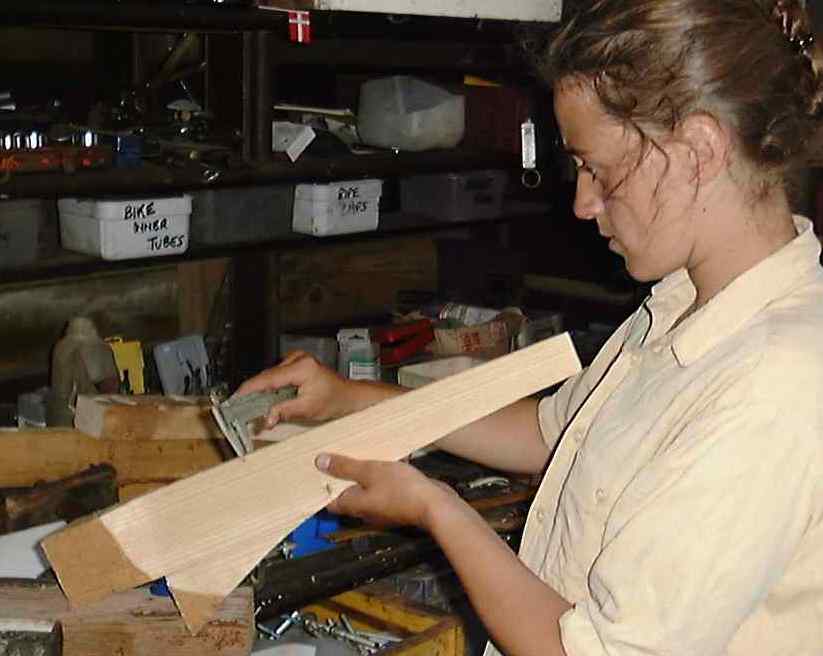
The important place to check thickness is near the middle of the blade,
but toward the leading edge - this is where the thickness must remain
full.
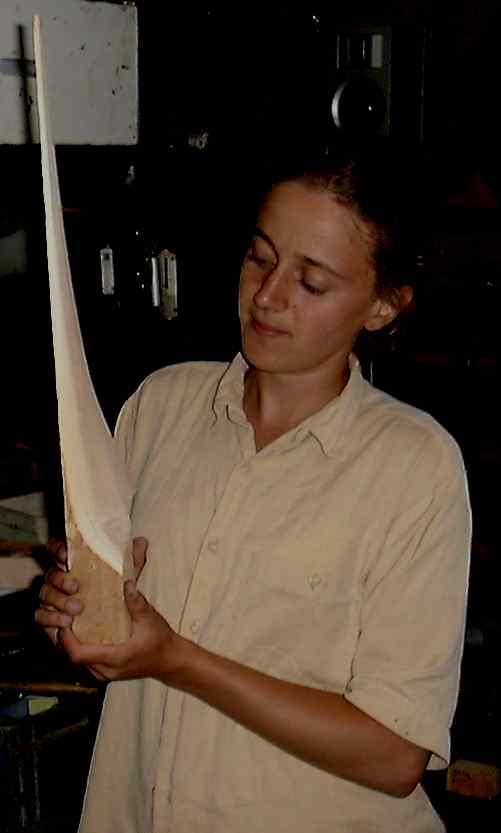
And the finished result is rather nice :-)
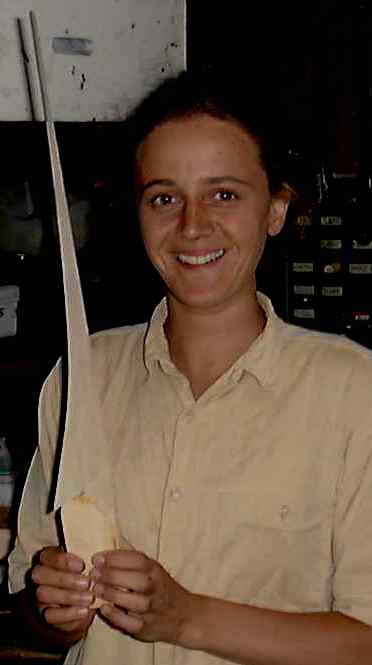 ..
.. ..
.. 
See also Carving Wooden Blades for a more technical description of the process.
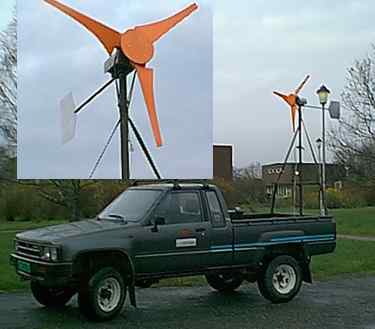
and here is the rotor on test in Norway in November