Scoraig Homebuilt Windpower Course May 2002
updated 1st June 2002
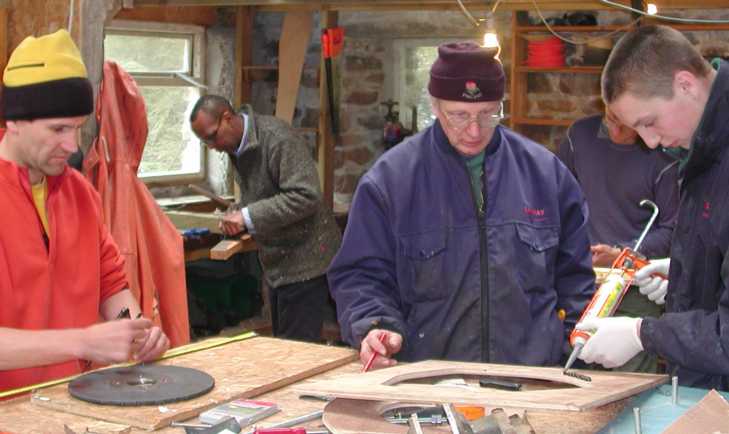
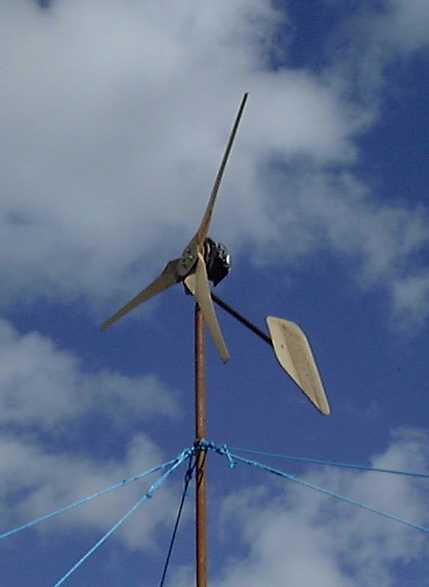
Seven guys attended this year's course, and we built a 12 volt battery
charging machine with 3 bladed rotor diameter 2.4 metres (8 feet).
Cut in speed was around 150 rpm and we got 40 amps output when it furled
at about 300 rpm.

Here are some pictures of the construction process. Thanks to
Neil and Len for their pics!
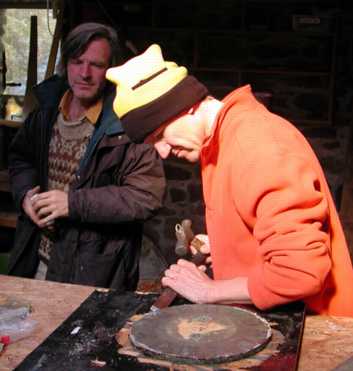
Carving the blades
Diameter 2.4 metres and tip speed ratio 7 as in last year's SEI course
8
foot blade

Cutting the wedges and gluing to the blades near the root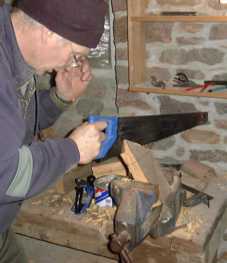

 Checking
the blade angles using a spirit level and ruler.
Checking
the blade angles using a spirit level and ruler.
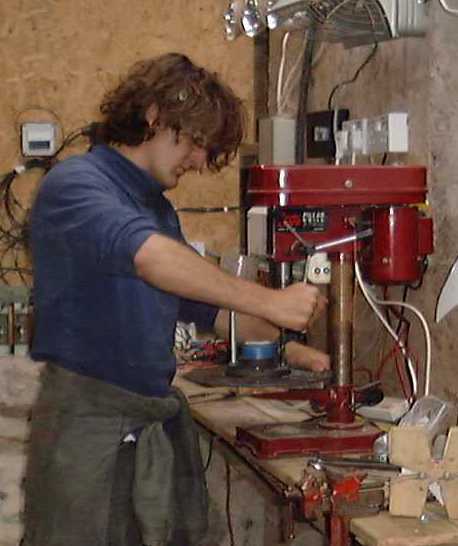
Drilling out the bearing hub and rotor disks to 12 mm (almost
1/2 inch). This is a larger diameter hole than before, both because
this alternator is more powerful, and because we were able to achieve a
more accurate result by expanding the existing wheel stud holes than
by drilling and tapping new 10 mm holes as in previous workshops.

Welding the steel frame of the wind turbine.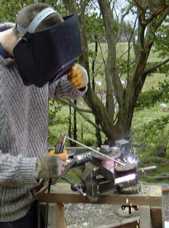

Taping the legs of a coil before removing it from the former 
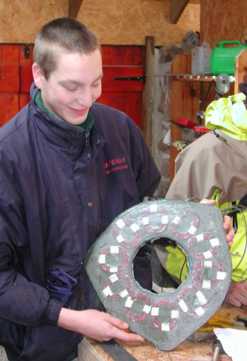
We cut out the shape of the stator from a piece of plywood, thus creating
the outer part of the mould and also a dummy stator whcih was used for
drilling holes in both the mounts and the actual stator.

The magnet rotor mould surround is similar but thicker
Preparing the moulds.
These moulds are simpler than the ones described in the pdf construction
manual on my web site. They work well for one-off production, which
is typical of homebrew applications.

The neodymium magnets are very powerful. If you aren't careful
they will grab your fingers

 The
magnets are completely embedded in polyester resin with a layer of fibreglass
on top.
The
magnets are completely embedded in polyester resin with a layer of fibreglass
on top.
Pouring the resin onto the stator coils 
Taking the castings out of the moulds is always an exciting time. 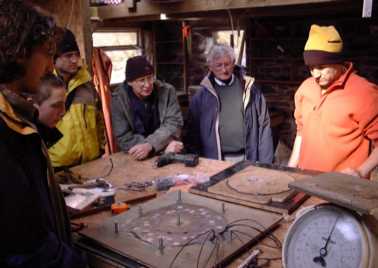

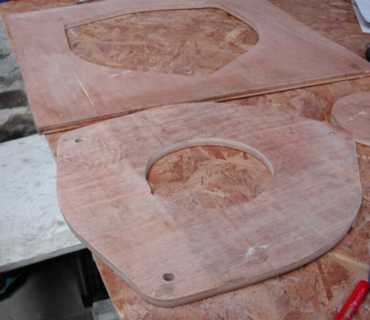
 Cutting out the plywood tail vane.
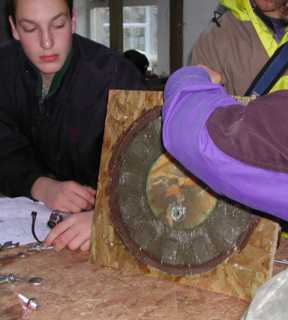
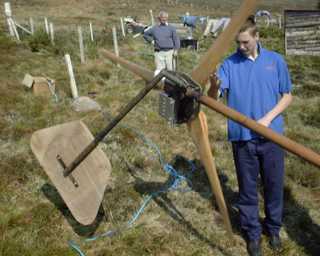
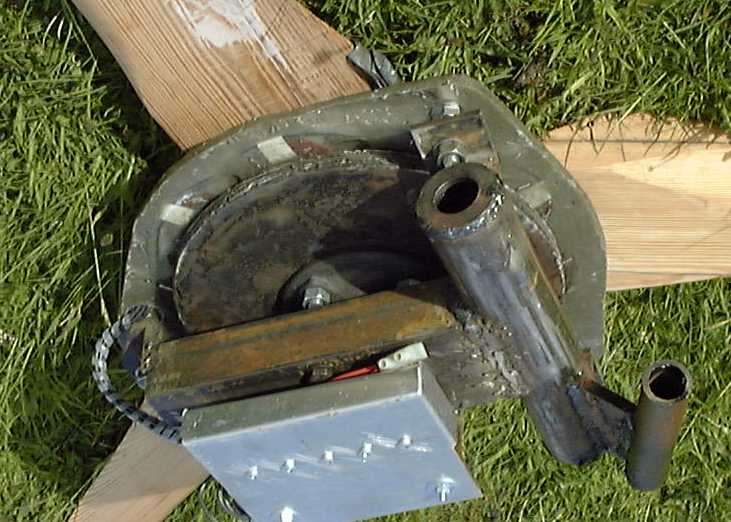
Assembly of the alternator.
Here you can see the stator 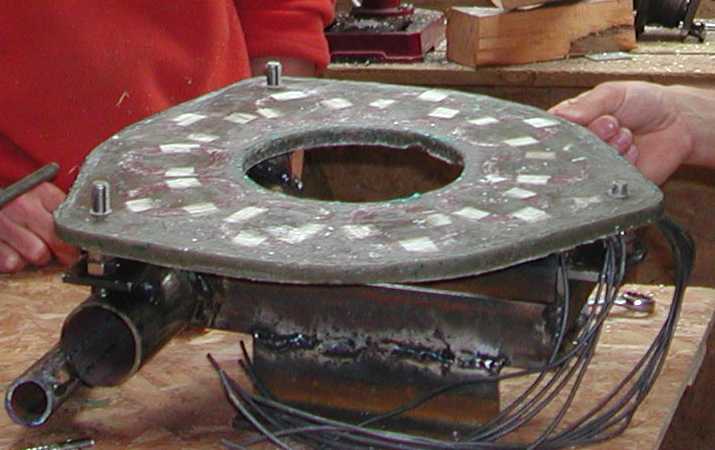

 The
front rotor is now on and the tail is being fitted.
The
front rotor is now on and the tail is being fitted.
The tail hinge incorporates stops to allow only 90 degrees of swing 
The rectifier box fits on the back. 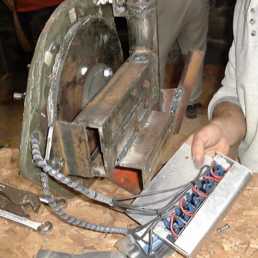

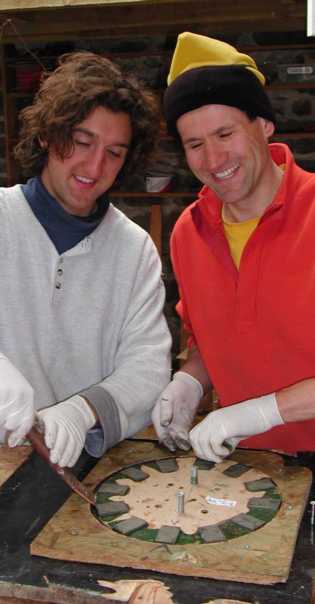
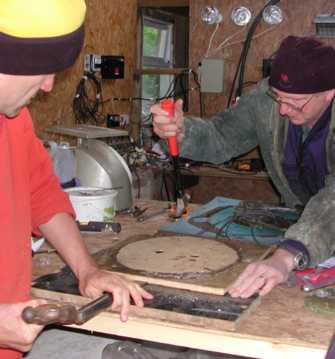
 Assembling
and balancing the rotor blades.
Assembling
and balancing the rotor blades.
Fetching the 20 foot (6m) length of 2" (60 mm) pipe for
the mast. 
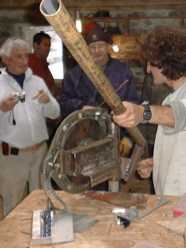
 Group photo before the erection.
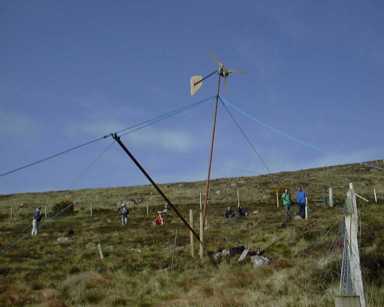
 Using
a rope hoist to lift the tower
Using
a rope hoist to lift the tower
We connected it to a 12 volt system near the site of the
workshop. We were lucky to have a good wind and we saw it produce
20-30 amps steadily and reach over 40 amps in gusts as the tail furled.
The short circuit brake worked every time. The machine ran quietly
and smoothly. We all enjoyed a well-earned beer.
So that's it until next year!
(there are more closeup pictures and some test data below)
There will be a course at CAT
in Wales 6-11 October (2002) and another one in the USA
14-19 April 2003. Next year's Scoraig course will be 17-24
May 2003.
Click on the links to get e-mail addresses for more info.

On 18th June we tested the alternator using the quad bike to drive it
(low speed, high torque job).

