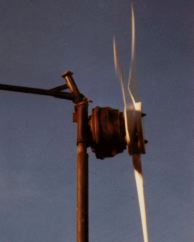
Green Loops invited me down to Liverpool from 24th - 26th May 2000,
to teach a course
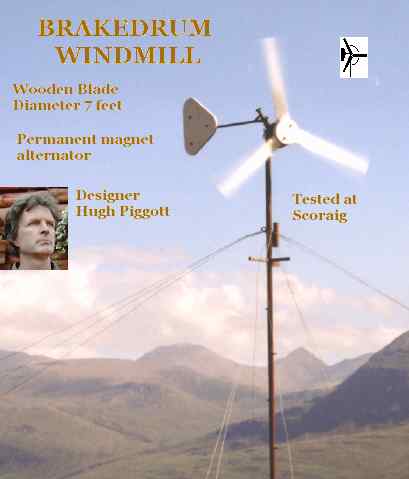
for 15 people and to help them build a Brakedrum windmill, following
my published plans.
<<<< This page is still slowly under construction .>>>>
Plans
are available in the USA from 
Click on these images below to load a larger picture in its own window.
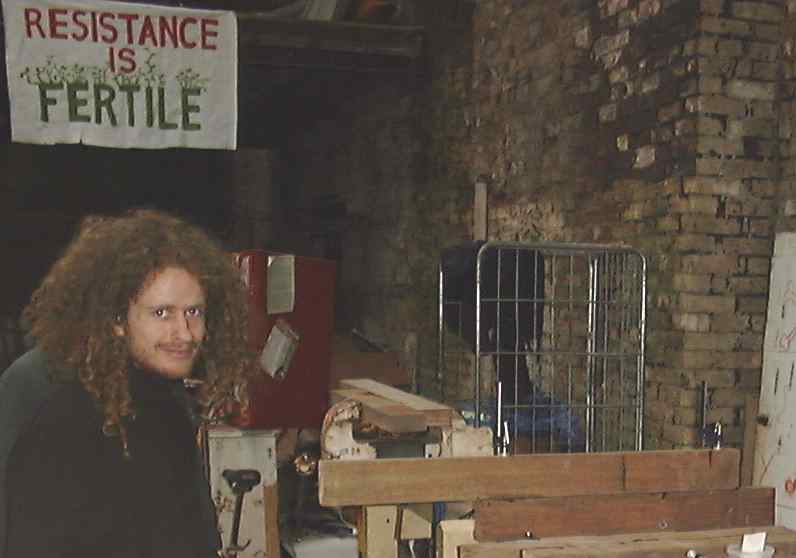
These are digital pics I took in the available light and they
may not show the technicalities very well,
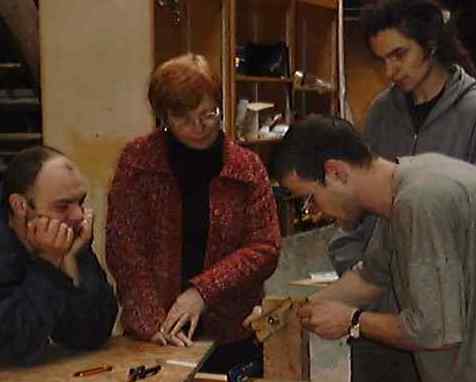
but they may convey some of the atmosphere of enthusiasm.
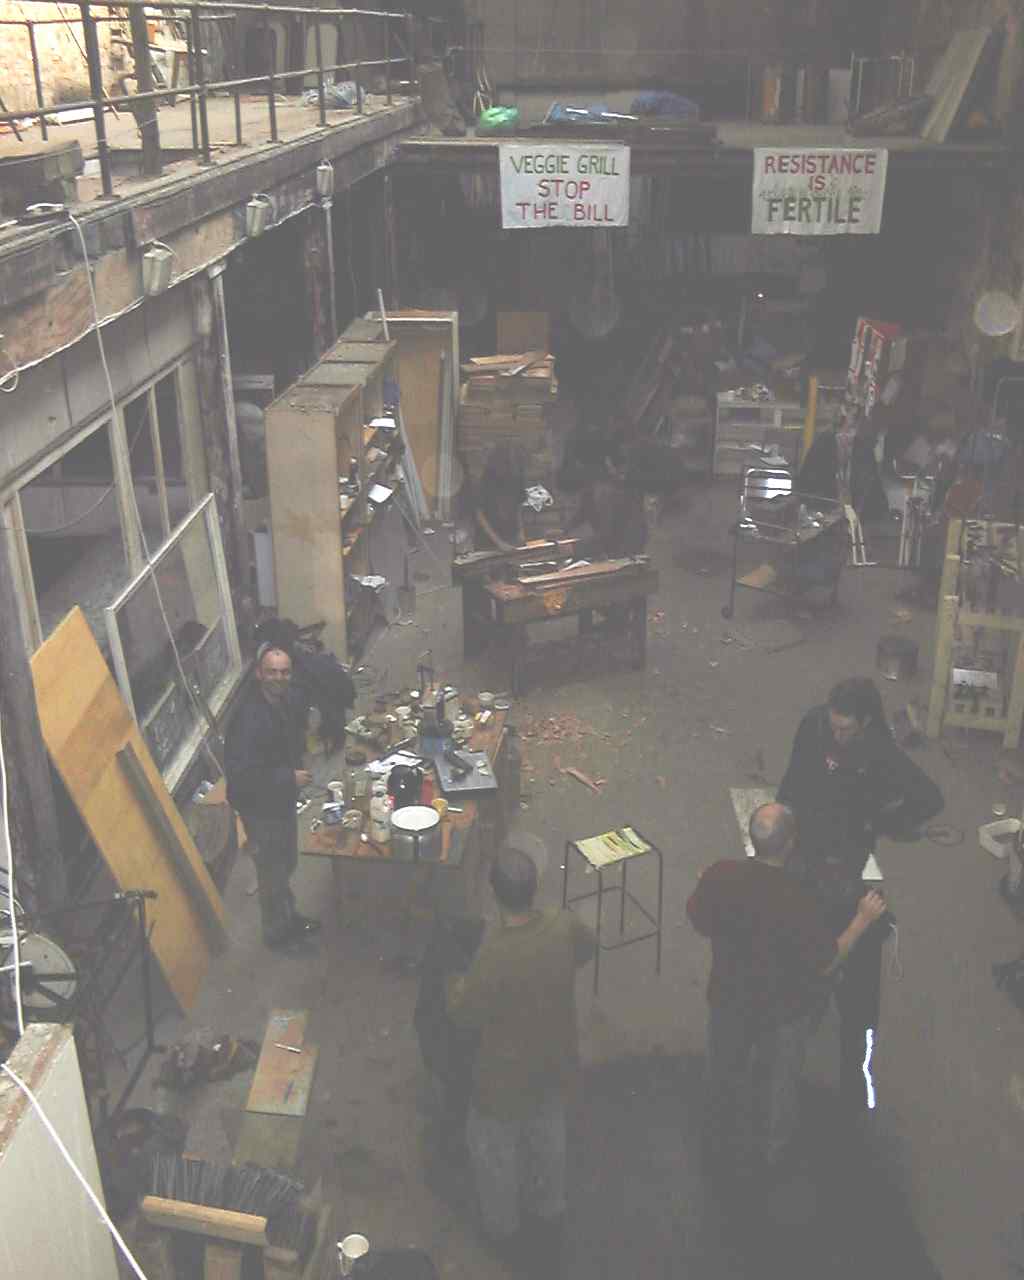
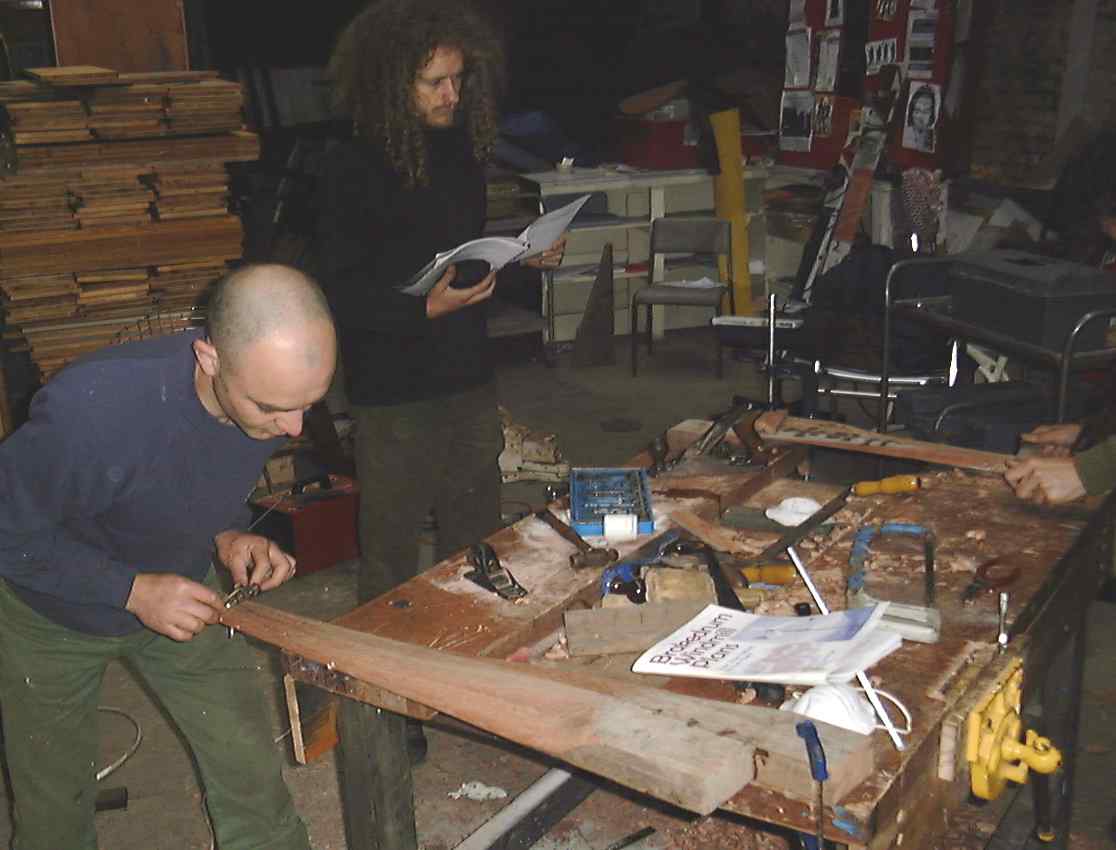
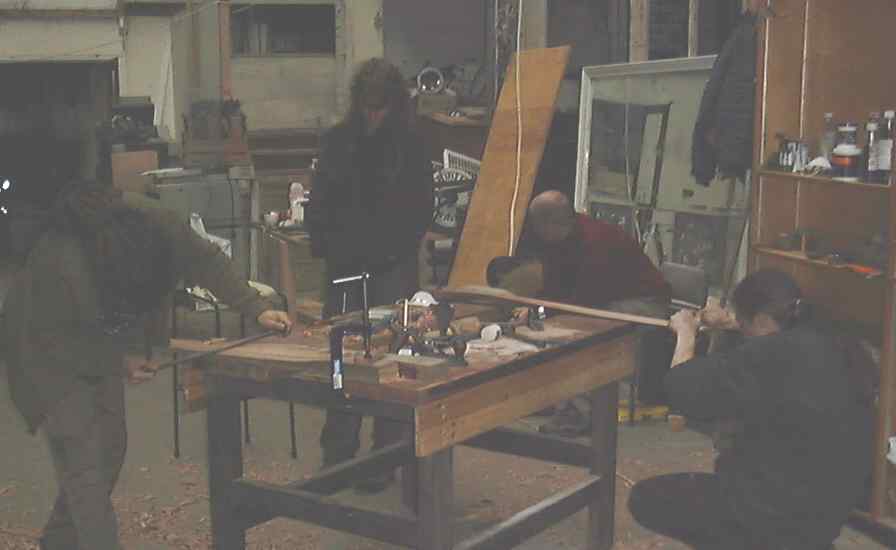
Green Loops have a warehouse in central Liverpool with space and some
tools.
We were working in there until ten pm each night.
Building wind turbines is not easy, and it takes time and care, which is what these guys had plenty of. I was surprised how far we got toward completion of the machine, and I look forward to news of further progress.
 .
.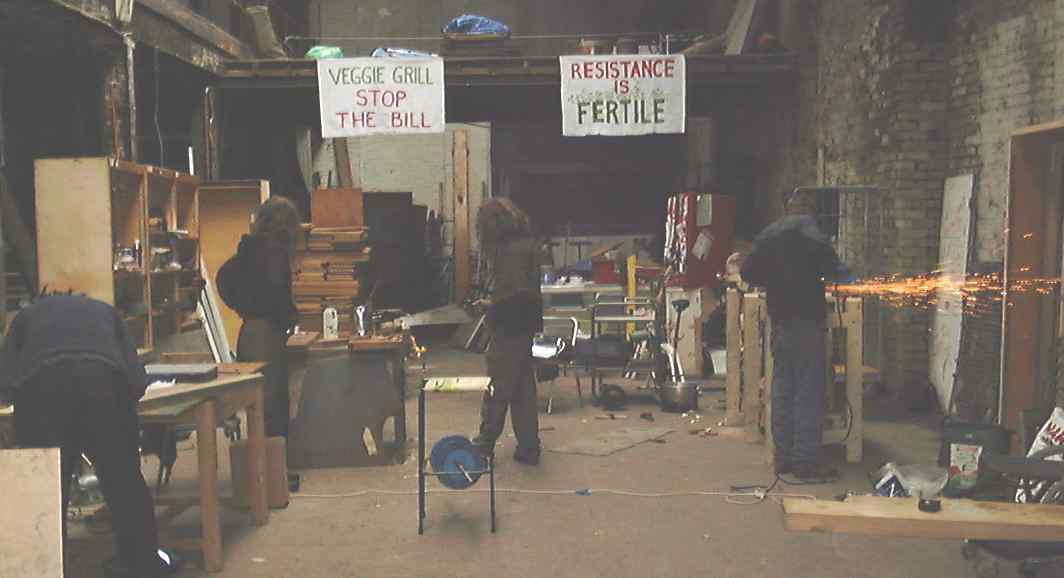
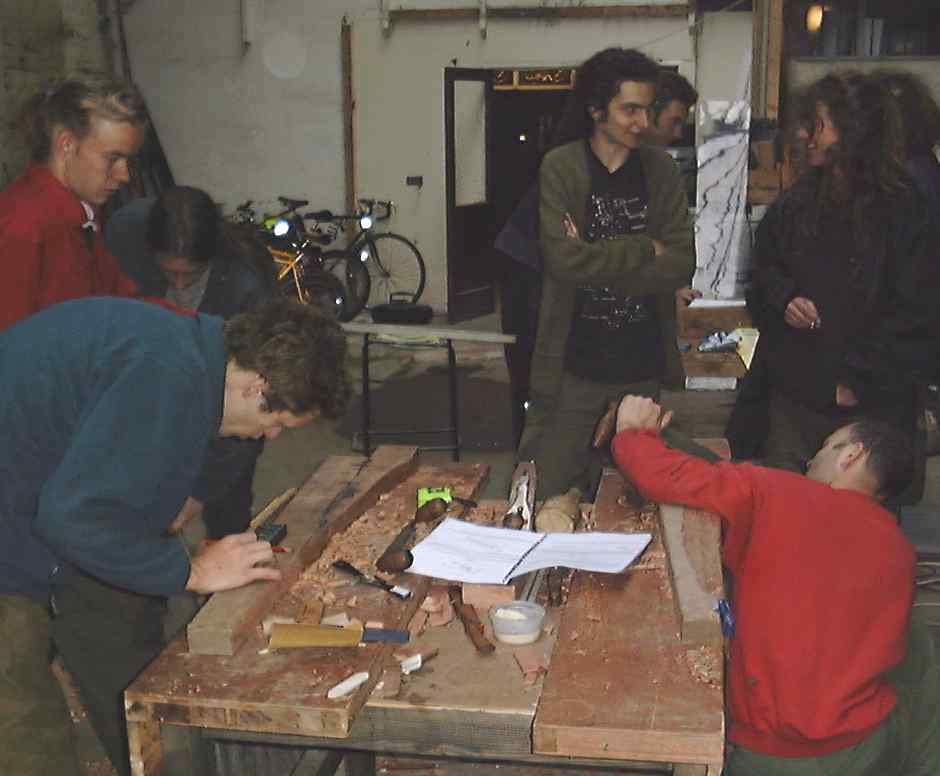
Most of the time was taken up with hands-on work. The blade carving
was the most popular task.
There
is a description of the blade carving process for a similar blade here.
Greenloops had found some very nice lightweight hardwood - probably
Meranti - which was tough to work, compared to pine, but came out beautifully.
The grain was smooth and sleek. Beginners are slow at carving work,
because they are too cautious to dig deep into the wood, so I had to be
patient..
 Clamping up pieces. the rotor blades are each made from two pieces of wood
glued together. It is also quite possible to use a single piece of
6x2 timber. It pays to be adaptable, because you never know what
you are going to find.
Clamping up pieces. the rotor blades are each made from two pieces of wood
glued together. It is also quite possible to use a single piece of
6x2 timber. It pays to be adaptable, because you never know what
you are going to find.
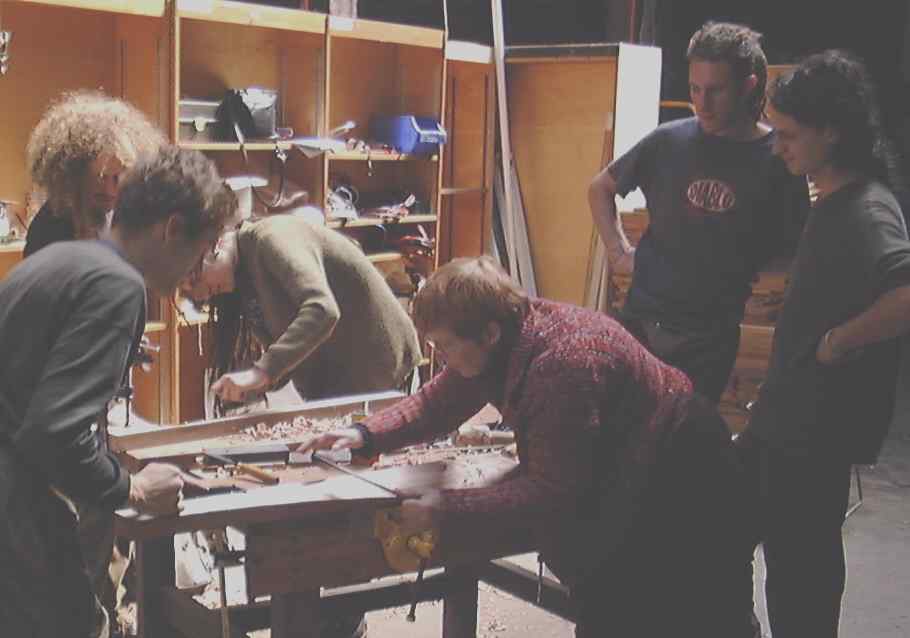
Putting a twist on the windward face (right). The next few shots
are all taken during this process. The idea is to carve away all
the wood above the leading and trailing edges, so that you can place a
straight edge on the wood and it will (practically) touch both edges.
 You can see the stator in the background.
Some people were puzzled by figure 17 which does not show the leading
edge line exactly right. Here is an ammended version
Everyone has a go at it.
 Blades
turned over for thicknessing
Blades
turned over for thicknessing
 tapering the trailing edge
. and finishing the airfoil shape.
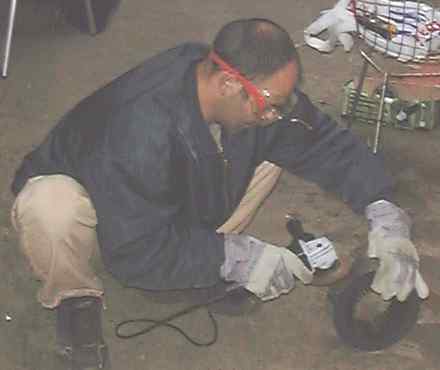
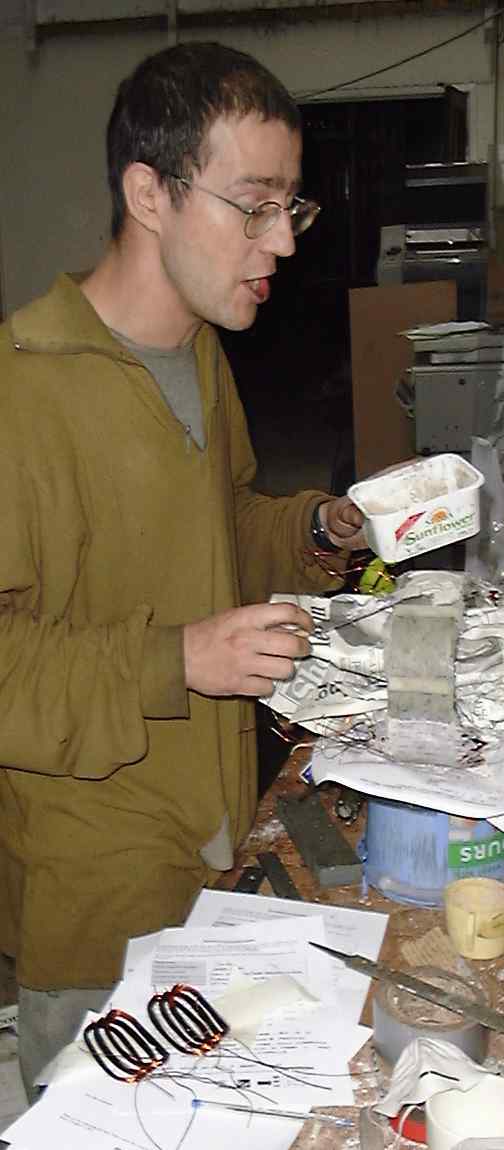
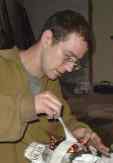
Winding the coils has a certain mesmerising quality too.
 .
. 
Balancing the coils on the
laminations can test the patience..
 .
.  .
.
Richie found out that a bit of masking tape helps.
 .
.  .
. 
The coil clamping former was not perfectly flat so the stator is a little oversized.
 .
. 
 . .
. . .
.
 .
.
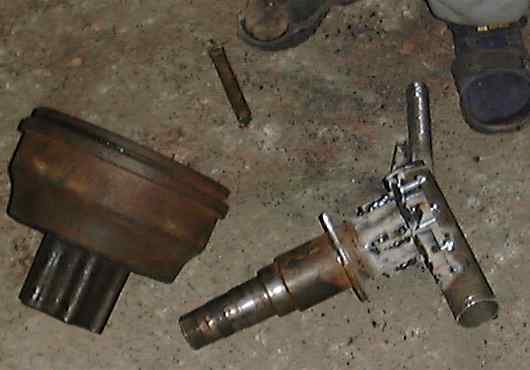
the shape of drum was slightly different from the standard
 in the plans
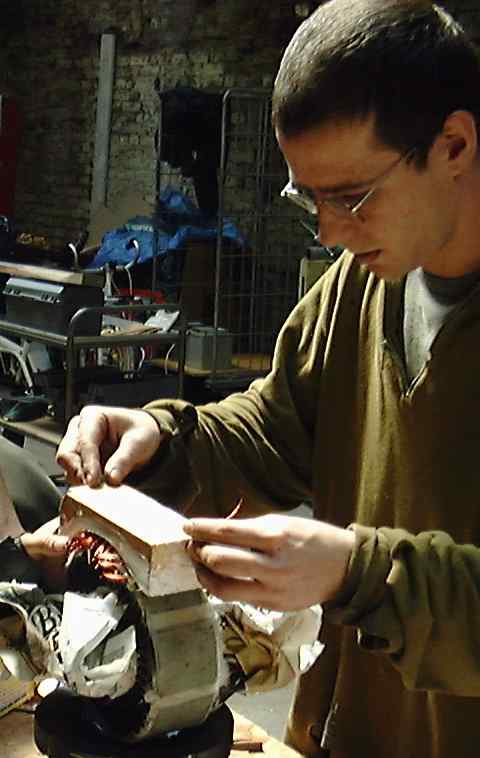
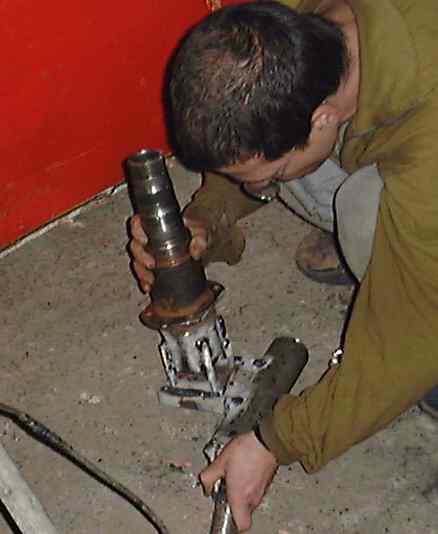
At greenloops they had a bearing stub in front of the brakedrum hub
like this
but there was no problem with this. It just called for a slight
modification to the rotor blade mounting bolt arrangement.
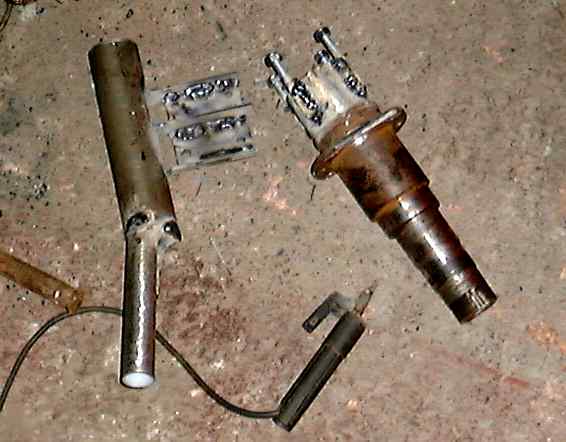
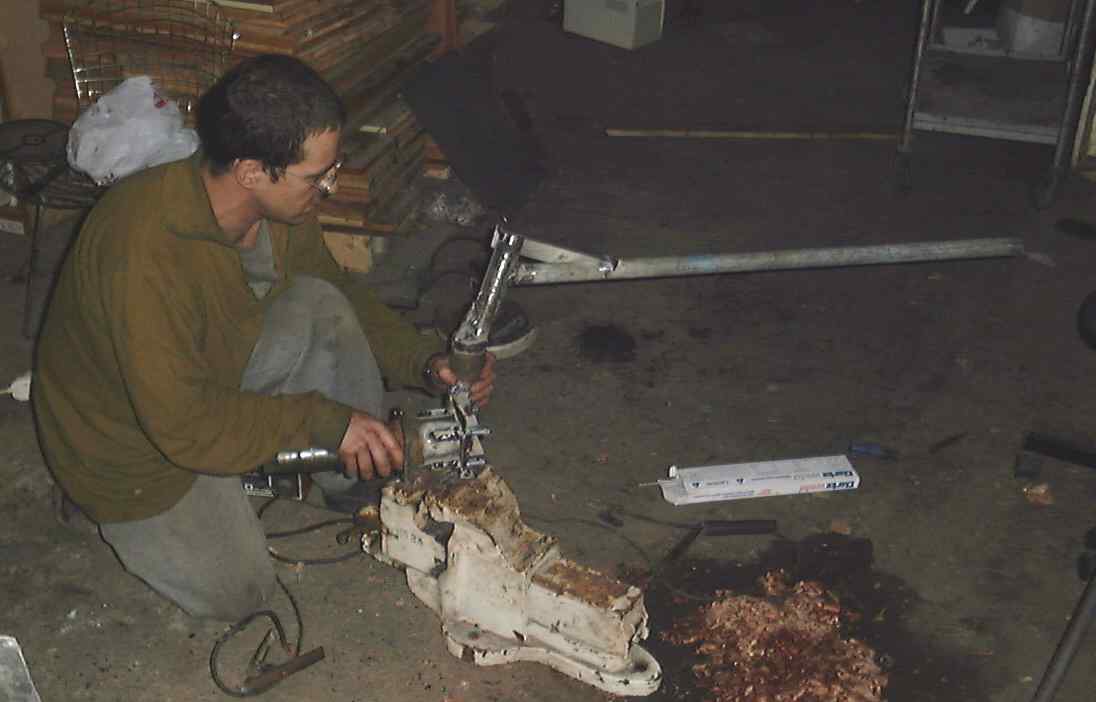
We decided to unscrew the shaft studs, and then drill and tap 3 of
the holes M12 to fit blade studs.
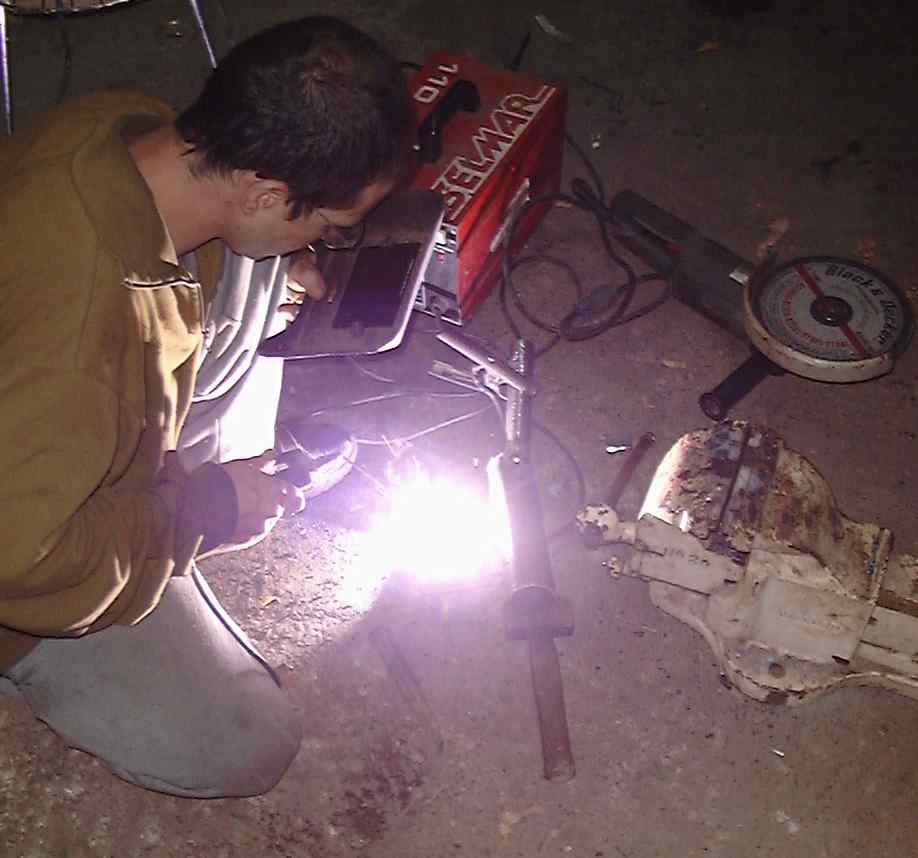
Depending on the internal size of the laminations it may be better to
weld the stator mounting lugs on the side or the back of the brake plate,
and not on the front as in figure 26 of the plans. In Liverpool we
decided to put them on the sides.
 .
.
It's important to be flexible. The plans cannot cover every possible
mis-match of materials, and there will always be different ways to do things.
to be continued.. (?)