3-8th October 2004
with Hugh Piggott
This was the third workshop course of this name at CAT. There will be another on 2-7 Oct 2005.
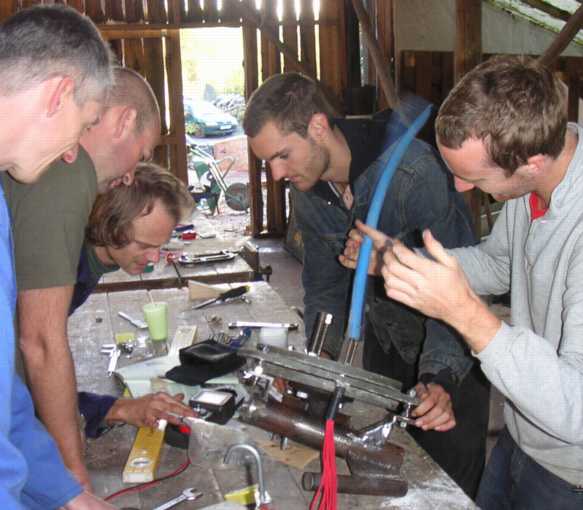
The course is largely practical although I did a couple of evening lectures on theory of alternators and blades.
More courses of this sort can be found on my workshops page.
As always the event attracted a very special group of people and we had a lot of fun and worked hard to create two battery charging wind turbines during the week.
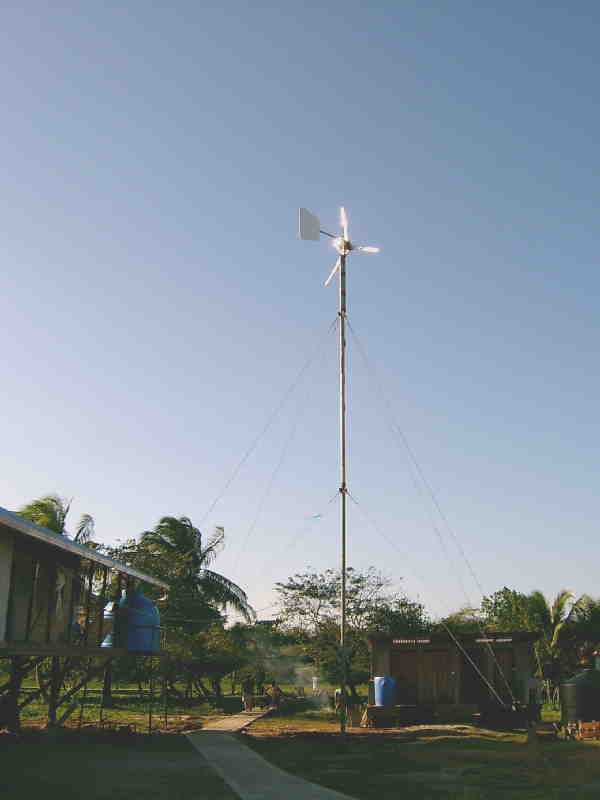
The larger one (2.4metres/ 8 feet in diameter) was erected and tested at CAT in the pictures below.
It will be taken to Nicaragua for village electrification.
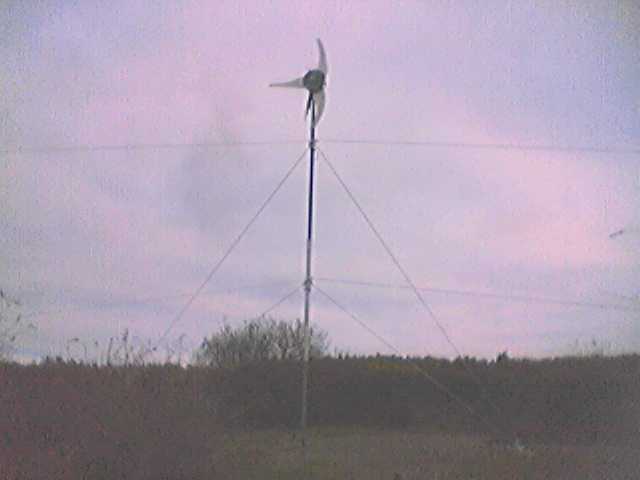
The smaller one (1.2metres/ 4 feet in diameter) was taken to a test mine site in Cornwall and you can see a picture of that at the end too.
Here is the group
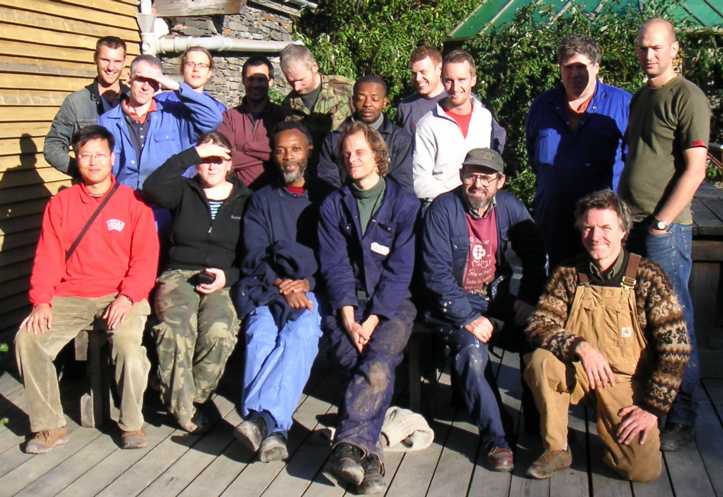
Felix Wright, Phil Lindsey, Jan Maas, Mike Thakoordin, Elwyn (CAT),Wembi Okabdju, Mark Bloomfield, Rob Hankey, Mike Pickering, Conor Coady
FRONT ROW: Dong Keun Lee , Holly Moore, Buyile Mngaza, Paul Bradbury, John Howson, Hugh Piggott
Tony Lochmuller was not in this picture. Thanks to Mike Thakoordin for the list of names.
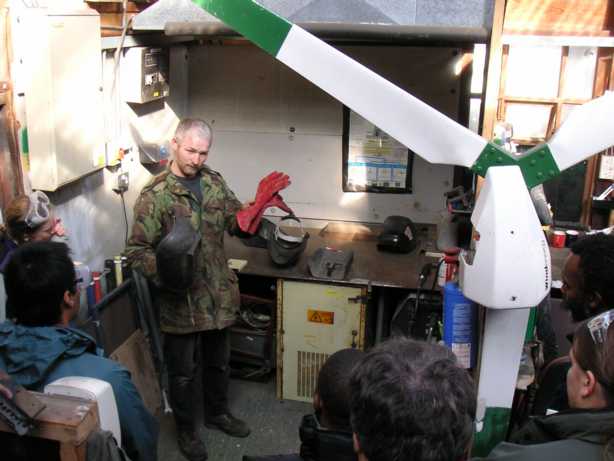
Elwyn (CAT engineer) introducing the welding shop and talking safety. CAT is the most safety conscious site where I give courses. This has got to be a good thing!
The blades belong to an old LMW 1003, down for refit.
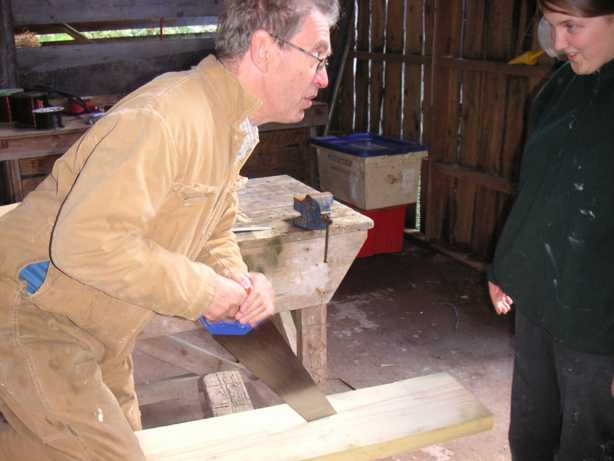
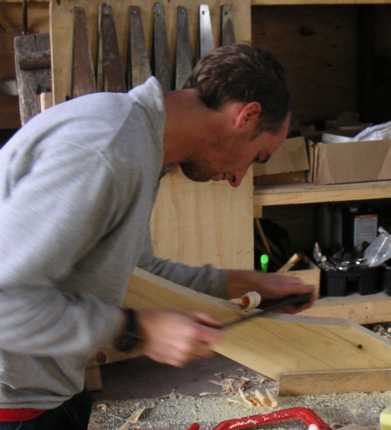
Tony and Holly get to work ripping the blade wood down to size by hand. Not that hard with a really sharp saw, and it got them warmed up.
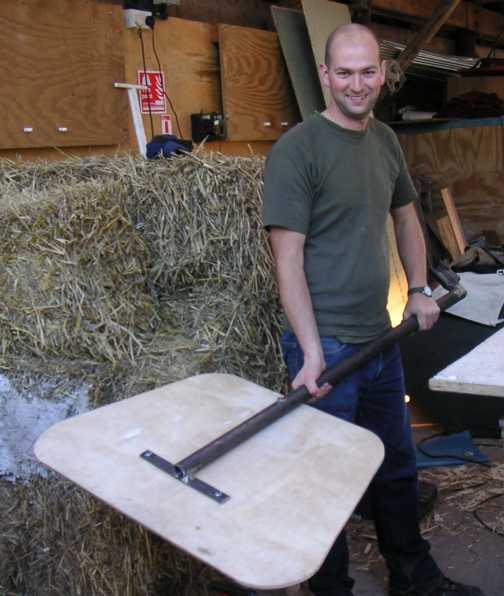
Using a piece of hardboard to draw a circle for the stator mould. Pretty accurate and easy to do.
Mark pre-drills screw holes through the mould lid.
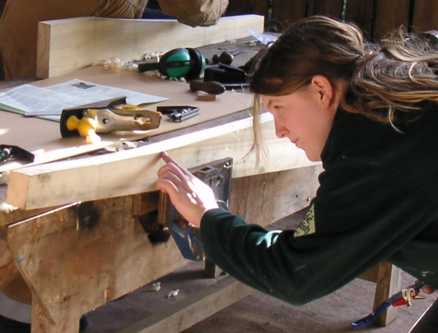
Holly checks her progress shaving wood down to the line.
Mark and Felix preparing the mould. A nice airy workplace. Mostly the weather was sunny but some days were foul.
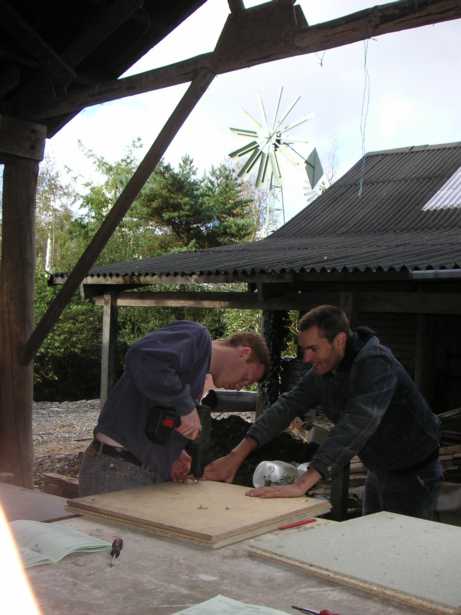
John checks the drop with a level.
John and Mike came from Peace
and Hope Trust - a Christian charity helping out in Bluefields on the
Atlantic
coast of Nicaragua.
The wind machine we built in 2002 went to Bluefields. This year's
will follow.
Amazingly, there happens to be a group
of dedicated young french and americans producing exactly the same wind
turbines in Bluefields now.
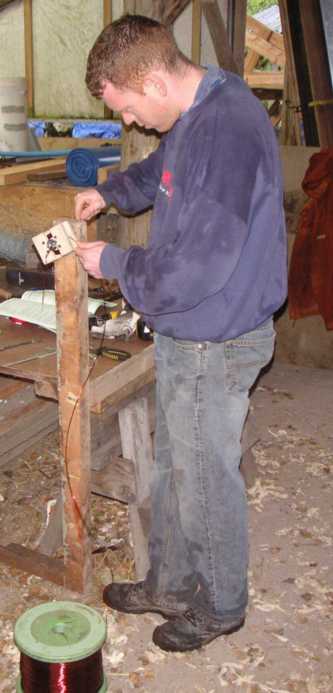
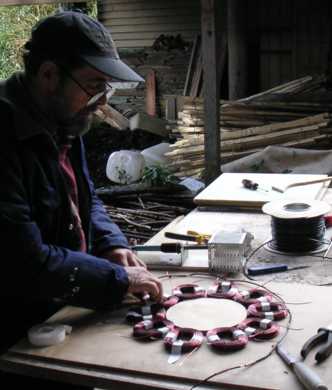
Mark winding coils. Notice the lack of support for the spool. If the spool is large then one can safely take wire off the side. I am indebted to Moses in Ghana for this tip.
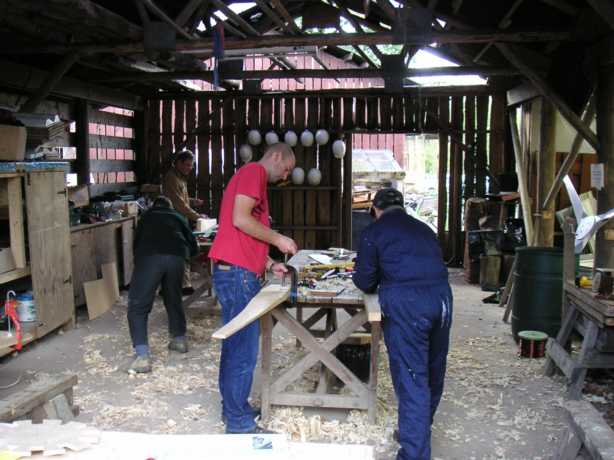
Blade carving in the pole barn. Conor in red.
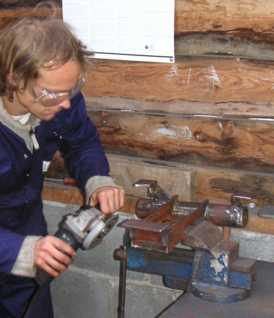
Jan gets busy cutting up the steel.
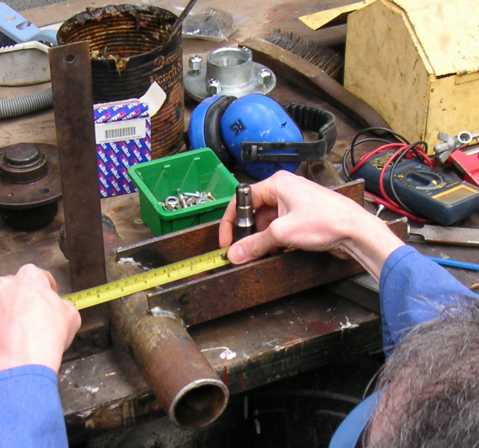
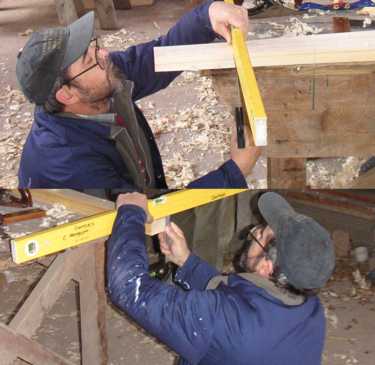
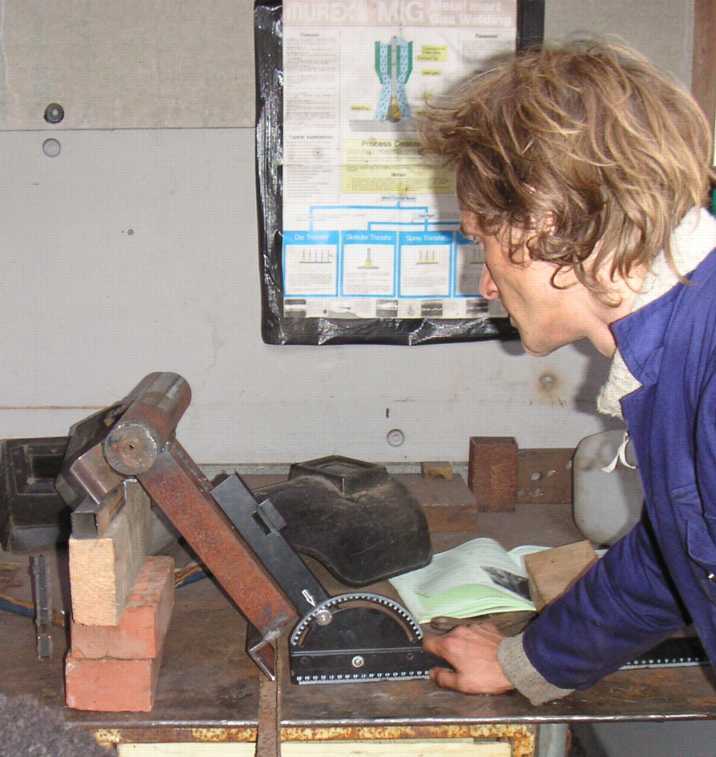
An improved technique for measuring the offset of the alternator axis.
Measure from the outside of the yaw tube.
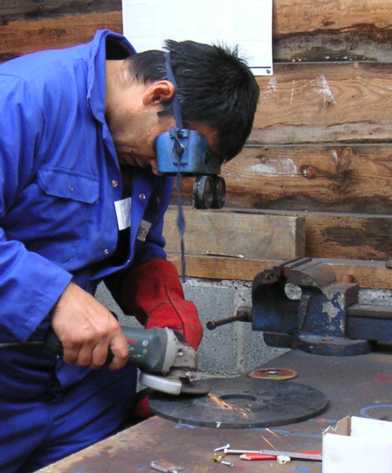
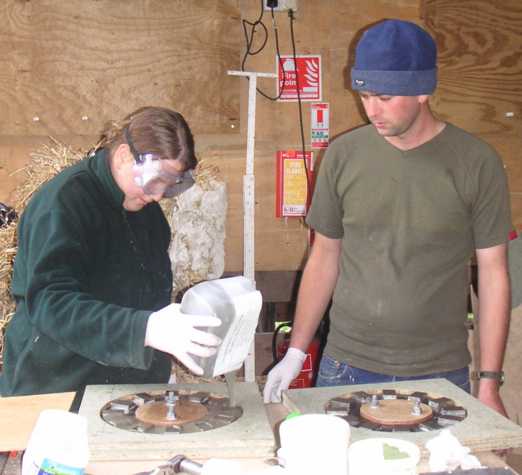
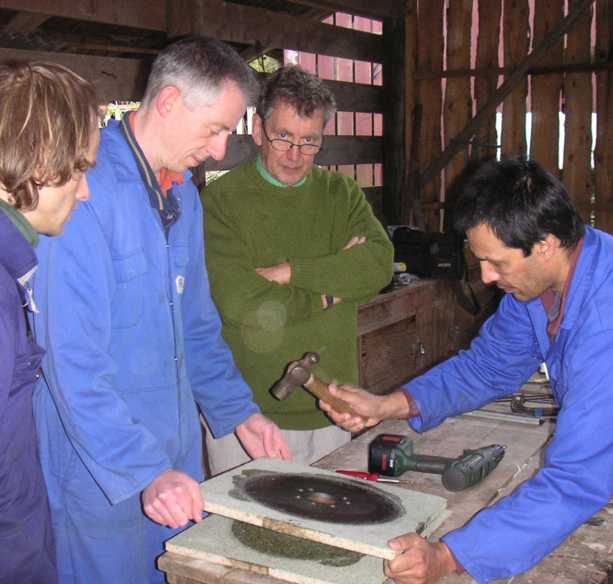
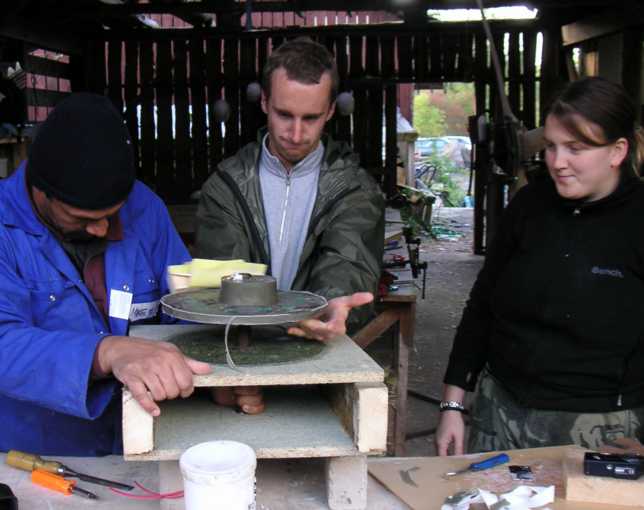
Mike cleaning scale off the magnet disks. This was the first
time I got the 12 mm holes cut by laser along with the disk outside and
inside diameters.
Worked very well and saved a lot of hassle. Hardly costs any
more to do.
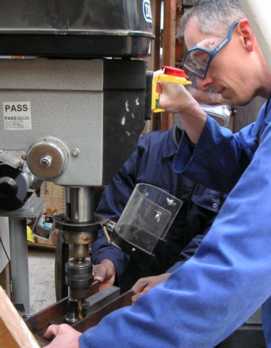
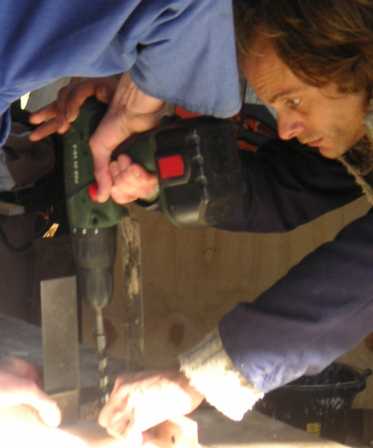
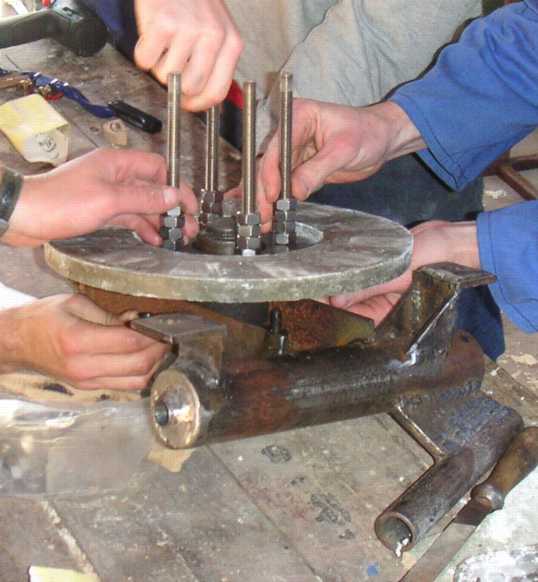
Phil and Wembi drilling the mounting holes for the shaft flange.

Mr. Lee and Buyile winding a coil. Countries of origin: Korea and South Africa.
Paul with the alternator support brackets.
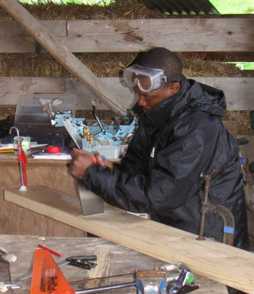
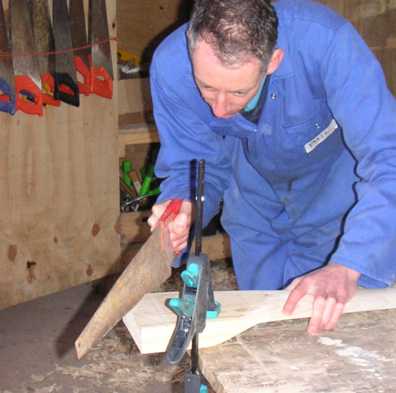
Wembi sawing wood the African way (vertically). It's cold in
Wales in October.
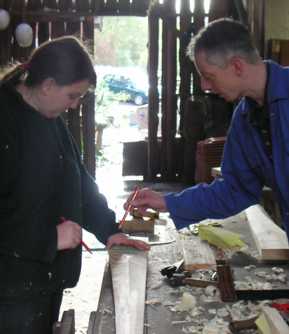
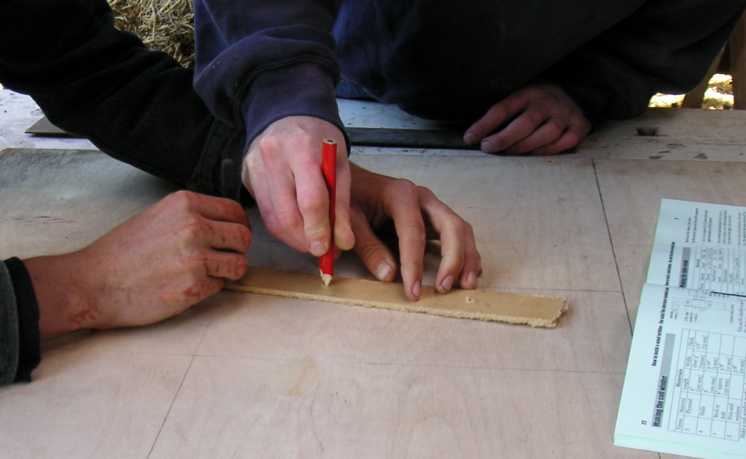
Holly and Phil mark the centre line of a blade.
John wiring up coils.
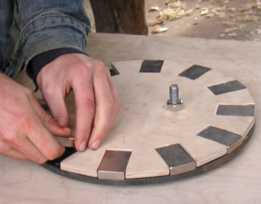
Fitting the magnets
CAT is a beautiful place to work in the Autumn weather.
Paul sets up the yaw frame at the correct angle. The next step
is to weld the tail bracket onto the top of the yaw tube, standing vertically.
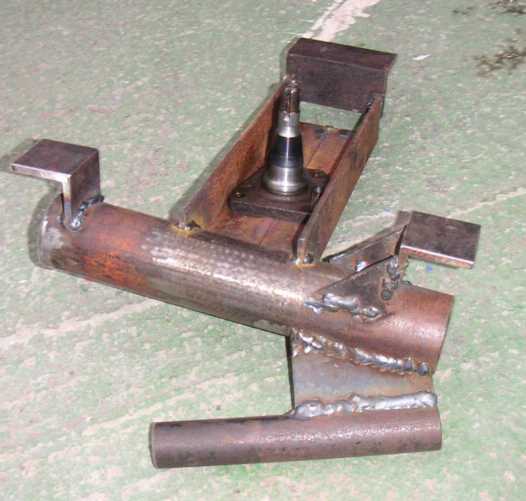
The yaw frame. Tail hinge fitted.
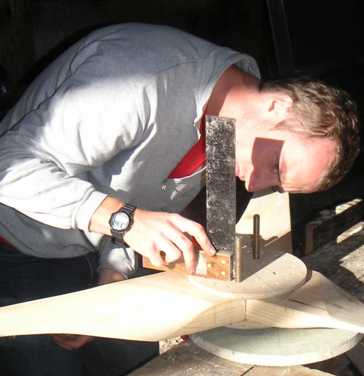
Phil cuts the blade root to the correct 120 degree angle.

Mr. Lee has a go with the draw knife.
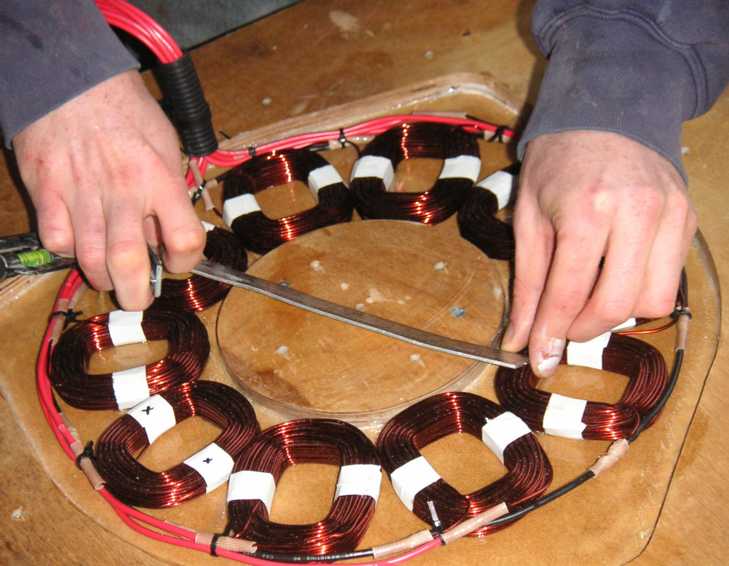
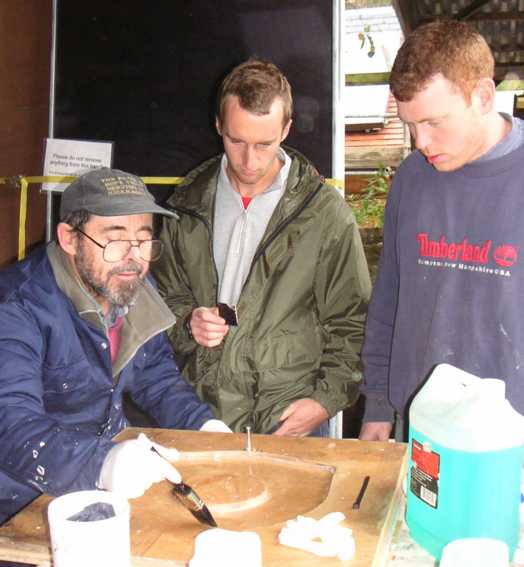
Checking the spacing of the coils. The inside edges of the holes in the coils need to be on the same diameter circle as the inside edges of the magnets.
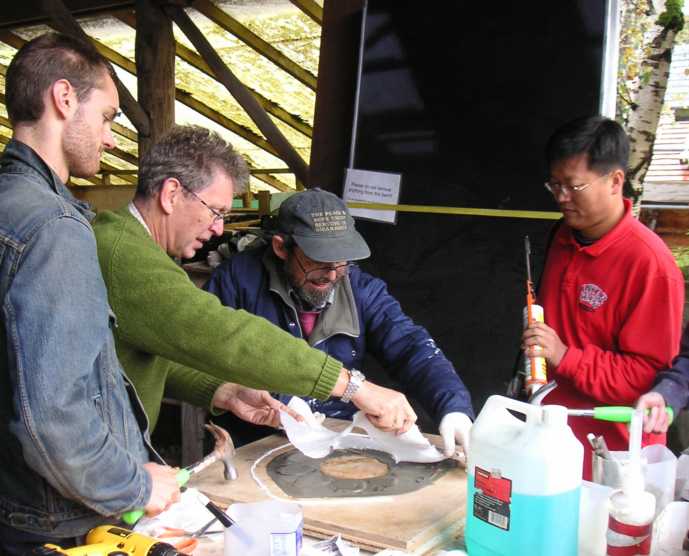
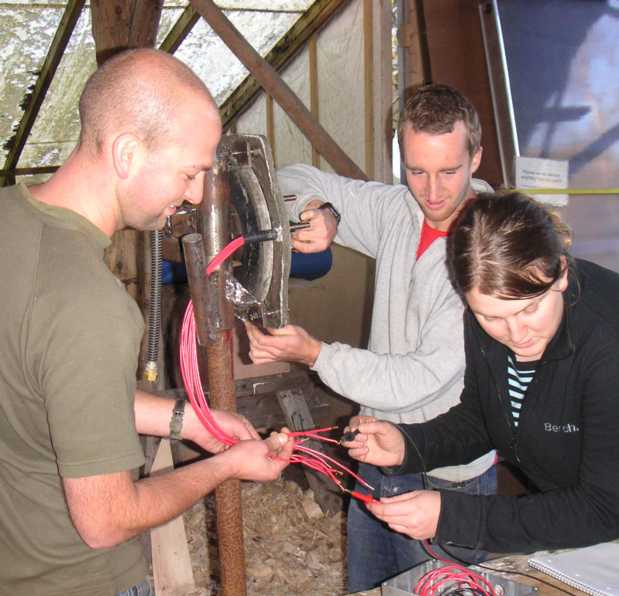
John, Rob and Mark start to create a stator casting. Note the
screw which will support the wiring coming out at the centre of farthest
edge.
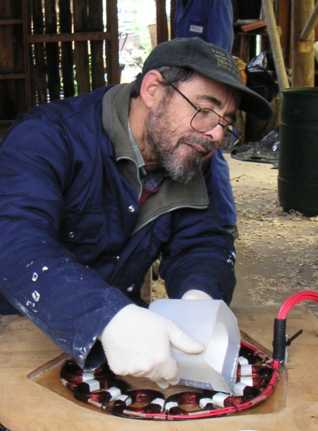
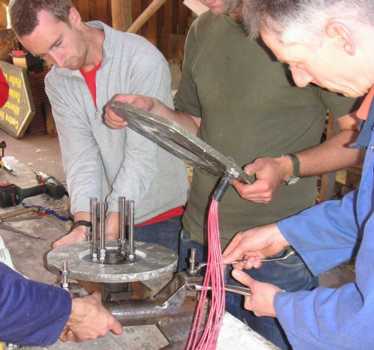
John pouring the resin. Notice the wiring fitted to the screw
mentioned above. The flexible conduit is a big improvement on trailing
wires.
A longer piece of conduit would have been cleverer if I had thought
of it.
Tony and John place the final layer of fibreglass.
Screwing down the lid. Rob helps John while Tony and Mark watch.
Here he is again plying the drawknife with an expert touch.
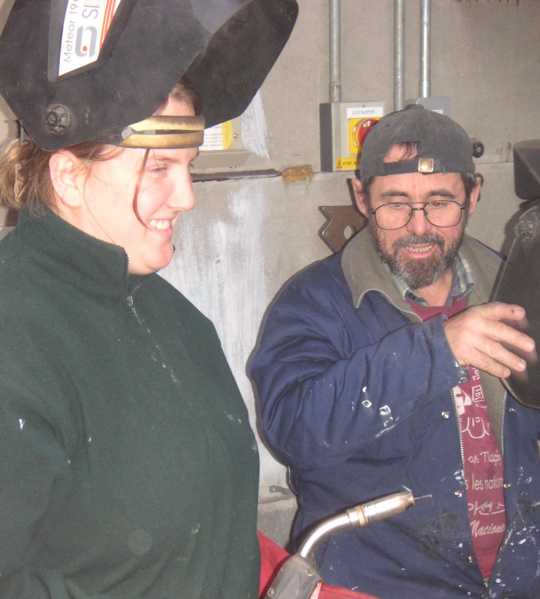
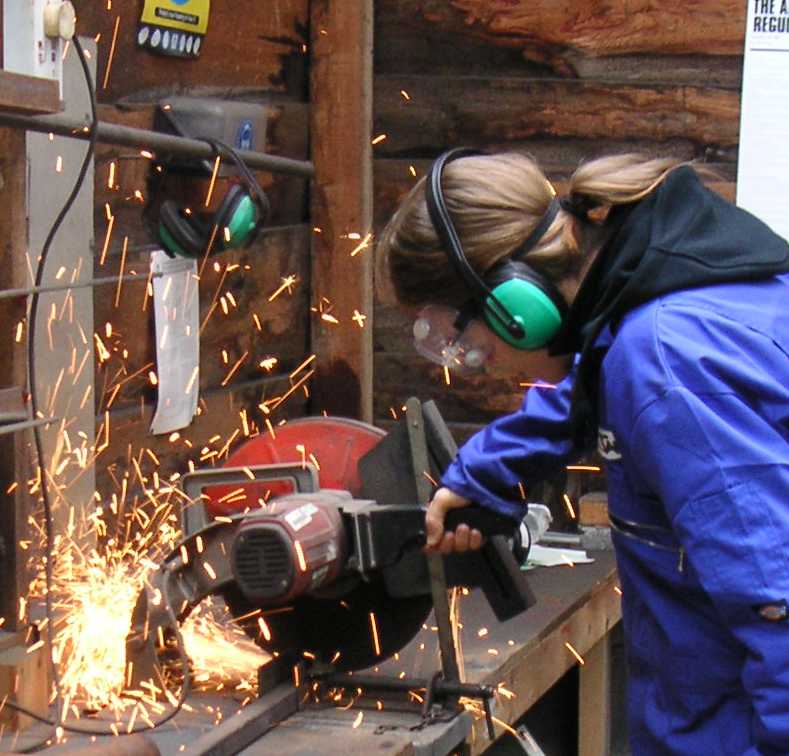
Holly has a go at welding with the MiG

The blades take shape.
Holly and Conor pouring magnet rotors.

Buyile mixing resin.
The completed stator halfway out of the mould. It was a bit soft
and we then put it back in front of the 500 watt lamps for a few hours
to harden.
Mike uses gentle persuasion on the magnet rotor mould.
Buyile assembles the blades.
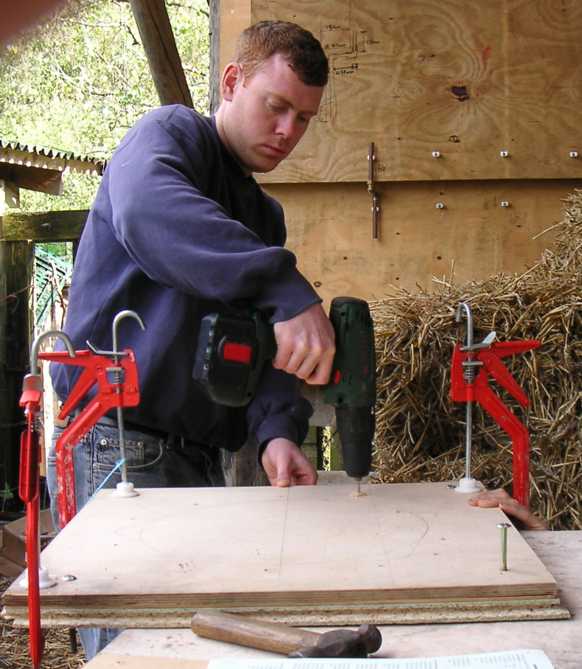
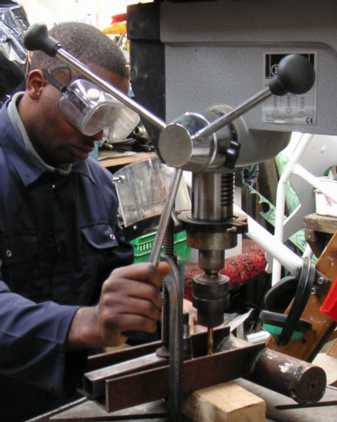
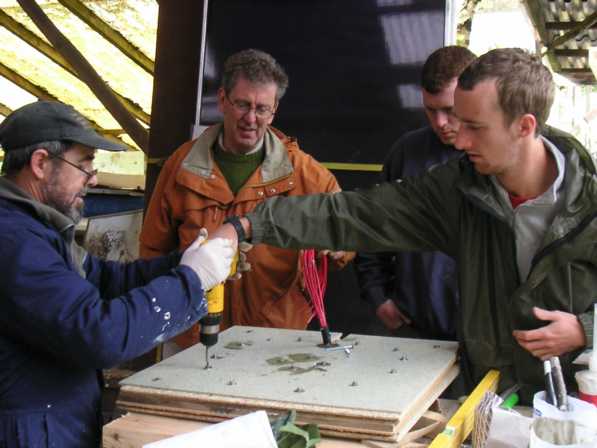
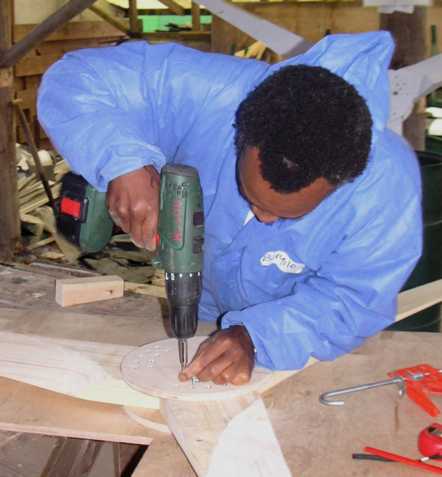
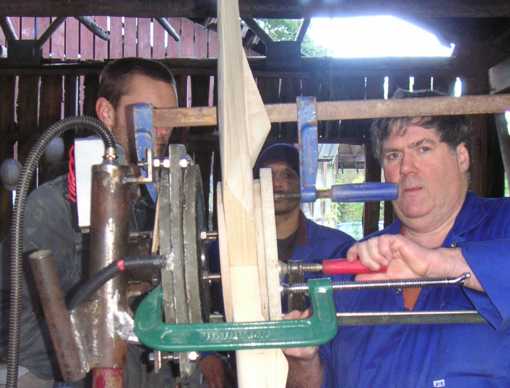
Paul drilling the clearance holes for the blade mounting studs.
He has some assistance keeping the drill bit vertical.
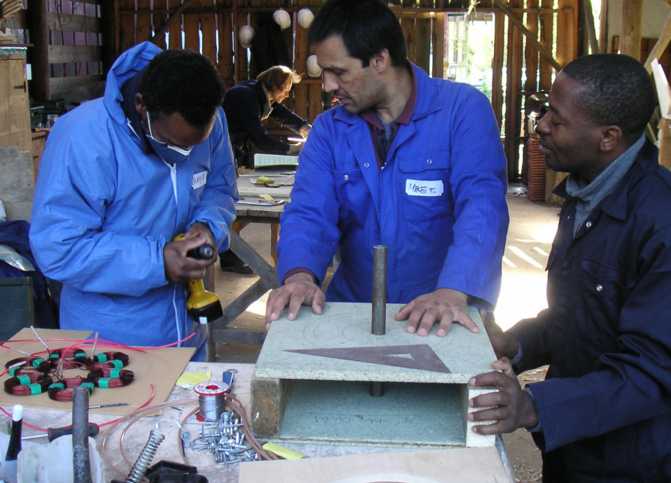
The mould for the small (1.2m blade diameter) stator being set up true
(square) relative to the shaft.
Conor with the completed tail.
Rob checking the blade studs of the small machine for true alignment.
Fitting the studs in the big machine. The nuts have been previously
fitted and tightened. It's hard to work on them after the magnet
rotor is there to grab the spanners.
Putting on the stator.
Rob uses a piece of plastic pipe to spin the completed alternator while
Phil, Conor, Paul and Felix check the output voltage and frequency.
More tests.
Mike fits the blades. They were a bit stiff, and hence the clamps.
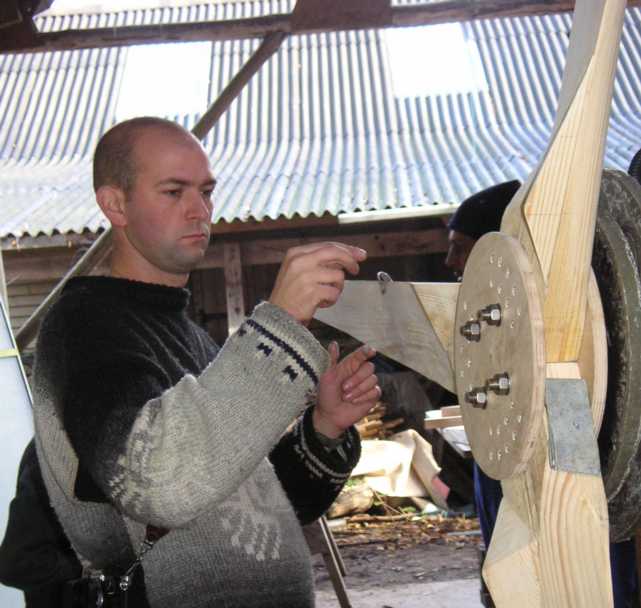
Conor uses a small weight to check blade balance. He moves the
weight out along the blade until it has enough torque to start the rotor
turning. The position has to be the same for each blade. If
not, the balance has to be corrected by small weights screwed on near to
the hub. This degree of fine tuning ensures that the machine will
run perfectly sweetly.
You can see a large weight in the foreground. This was added
earlier to coarsely balance the assembly.
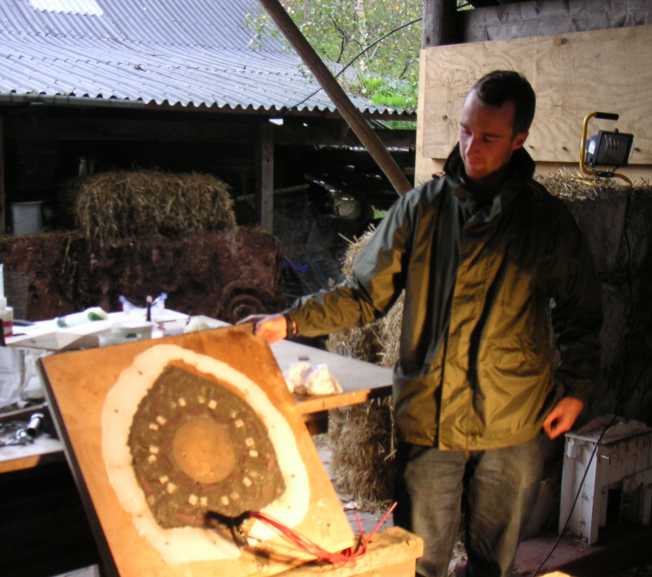
Another successful casting. The stator of the small machine comes
out of the mould. The lid and the surround have already been taken
off.
Buyile (not present) did the lovely central boss using a plastic bucket.
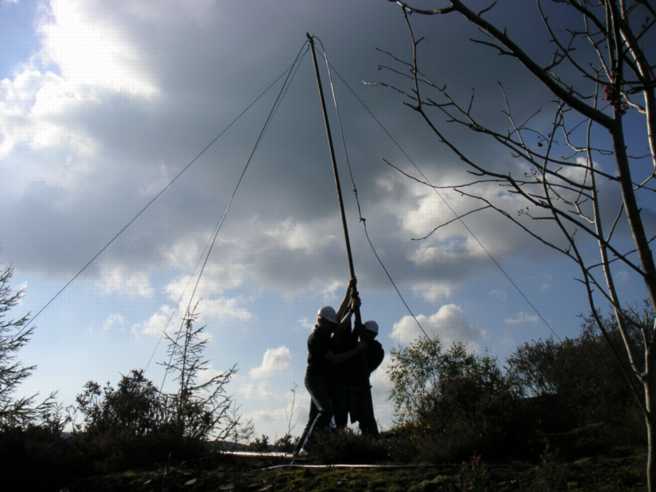
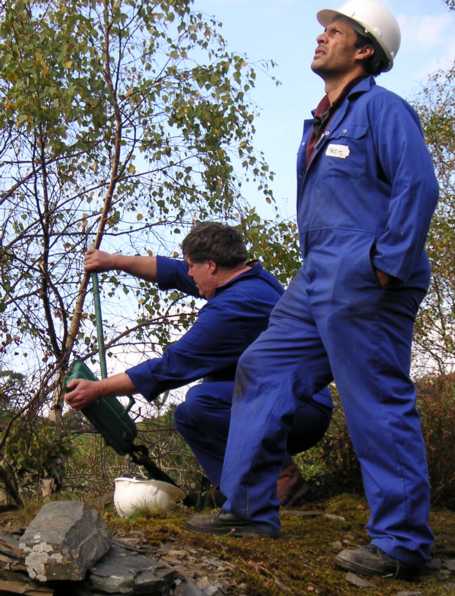
Erecting the gin pole. Nobody without hard hat allowed
near.
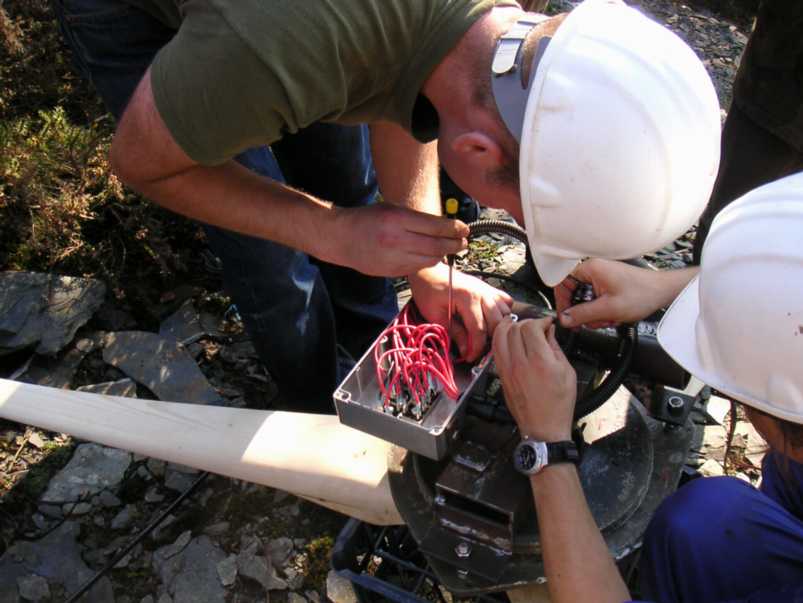
Conor wiring the rectifier box connections to the tower cables.
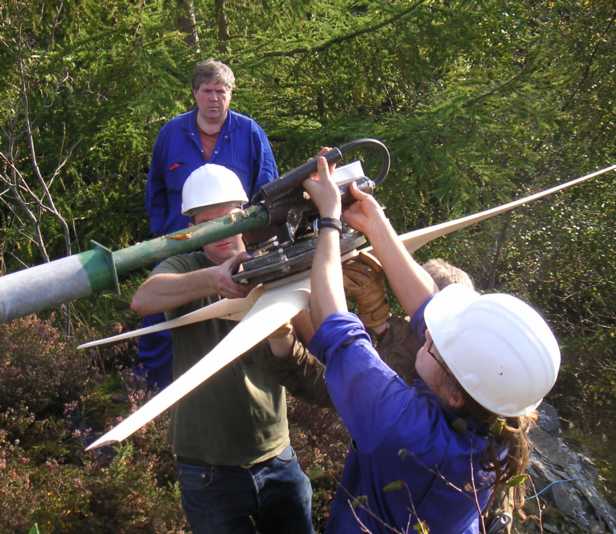
Sliding the 2.4 m diameter machine onto the top of the tower. Mike watching.
Mike Pickering operates the rope hoist. Mike Thakoordin watches the machine rise.
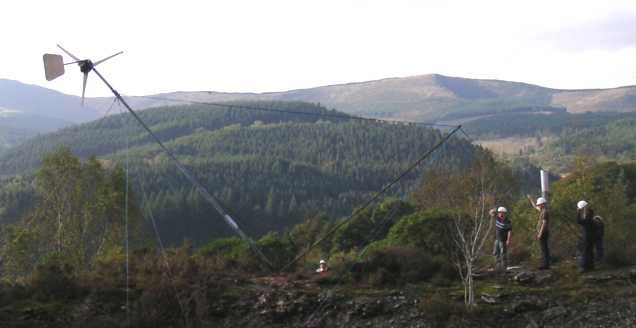
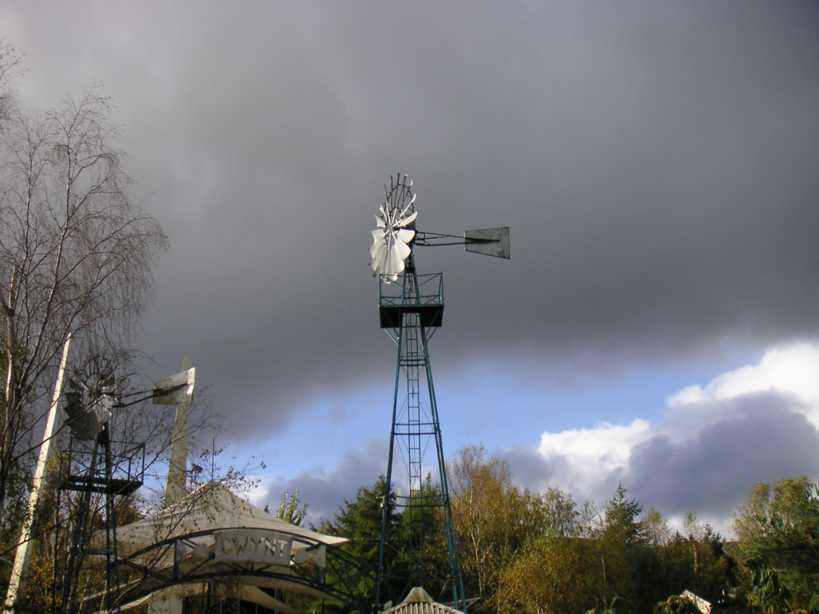
Turbine erection. Conor in charge. Great test site half way up
the hill above CAT.
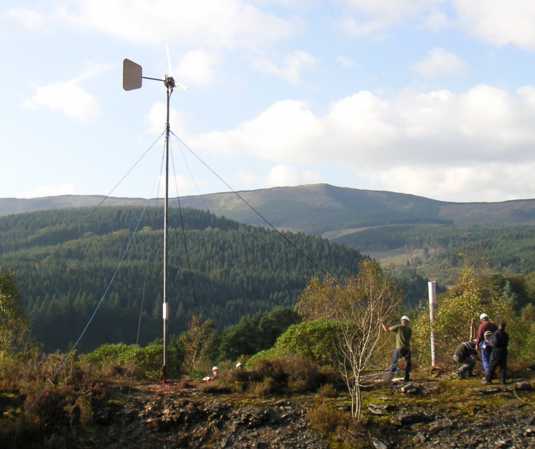
Fixing the guy ropes.
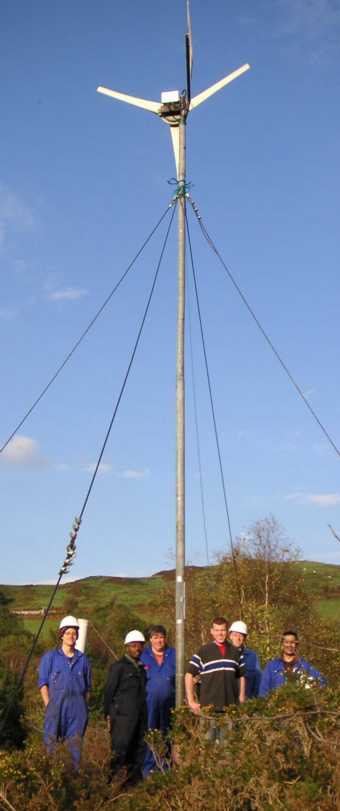
Job done. We saw some output from the machine but not much as
there was very little wind.
The machine in its new home in Nicaragua.