| Back to the Main page. | Wood
carving |
Electrical |
My
courses |
Metalwork took place in the main entrance to the Gyreum.
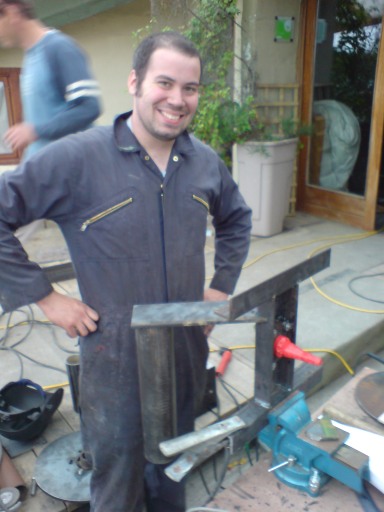
Obviously we had to guard our eyes while welding was going on.Stuart did most of the welding in the end because he is so good at it.
Stuart has built a 22 foot diameter turbine at his home near Omagh.
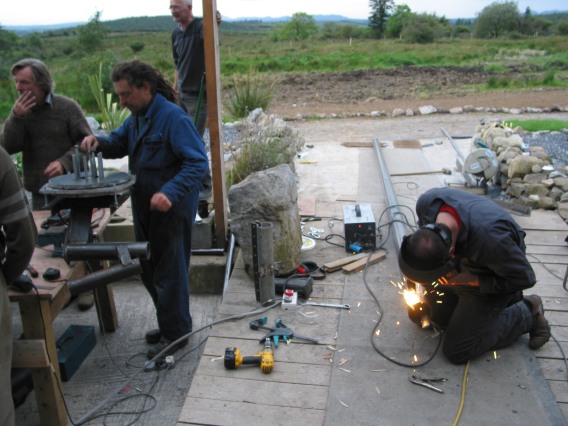
Below, Rob welds up the alternator frame. I am using a much simpler approach to stator mounts now to save time and headaches. On the right, Stuart mounts the wheel axle. The back of the axles flange was not flat but we packed it with nuts. Altogether this mounting pushed the alternator further forward than is ideal because it made the stator mount studs very long, but we did not have the option of putting the flange behind the frame and poking the axle through a hole. The hub flange would have hit the sides of the mount that way.
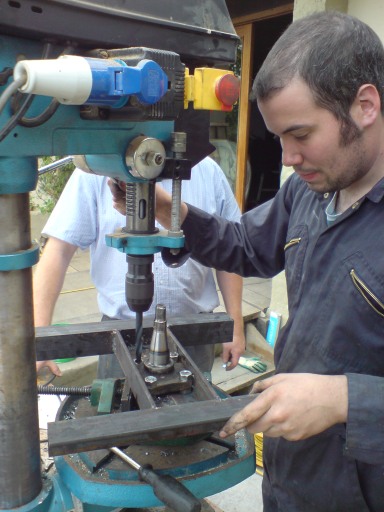
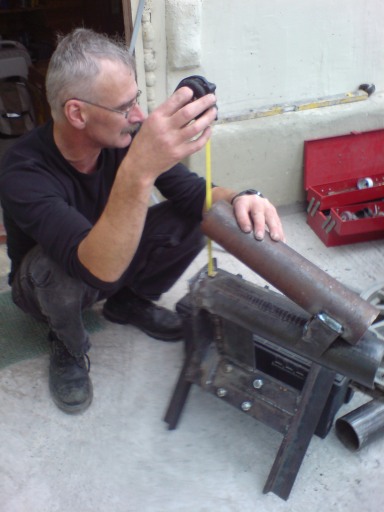
Here is john from Norway drilling out the hub flange holes to 14 mm to suit our threaded rods. The existing holes were a weird 13 mm thread of some kind.
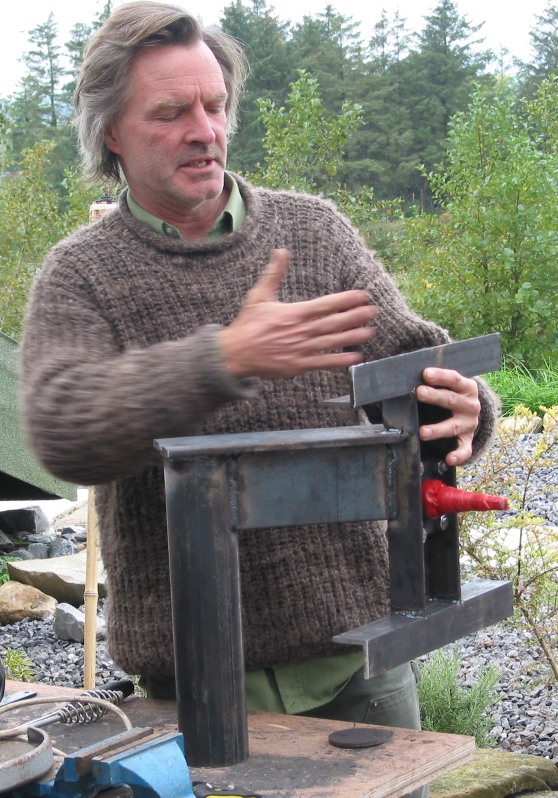
Stuart welds the bracket that connects the alternator to the yaw pipe. I decided to throw the whole alternator out a bit forward from the tower and keep it vertical. This is similar to my older African design from ten years back. I expect it to be more predictable when furling in high winds and there is no need to put stator mounts on the yaw pipe any more, so it works out nicely.
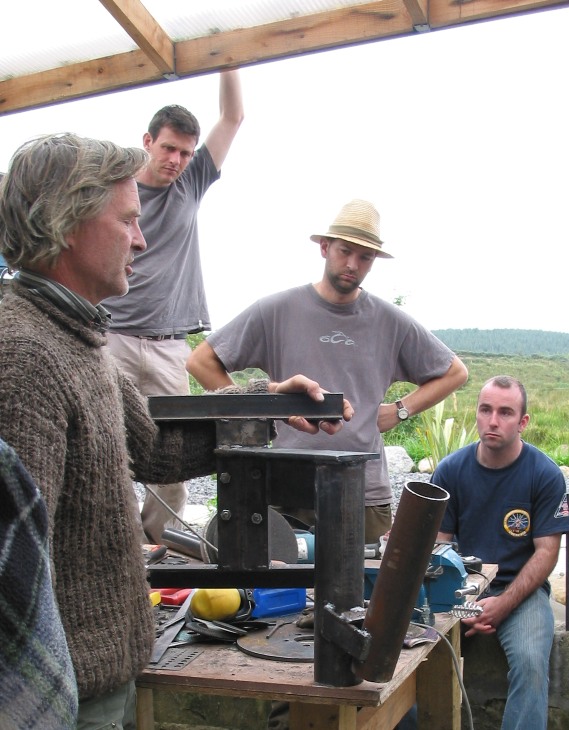
John holds the tail hinge pipe in place using a tape to set the angle off vertical. The frame is set 55 degrees off horizontal as usual.
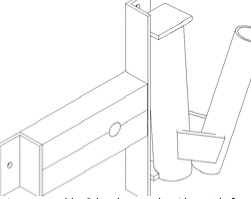
some detail of the frame for the big machine. Note the cable support guide on the top of the yaw pipe. I did not get a good shot of the tail hinge pipe support bracket but it is much stronger than the one we used in France. There is a piece across the top of the cheek pieces that ties them and both pipes together very rigidly.
A frontal view:
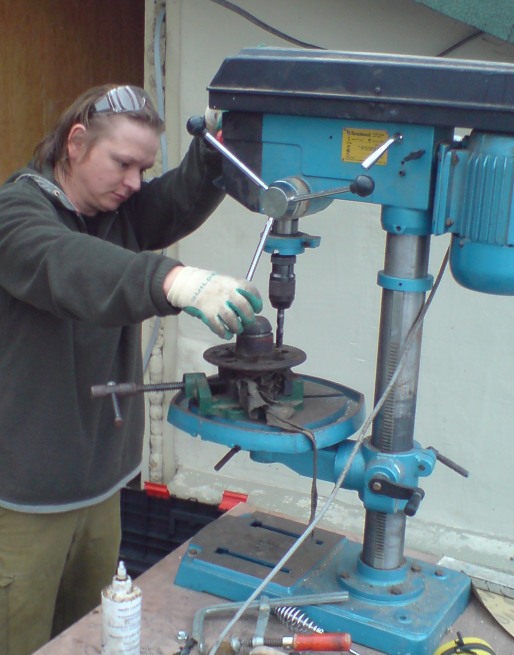
Jimmy assembles the bearings. We removed the seal for cleaning out the bearing races, and decided not to put it back.

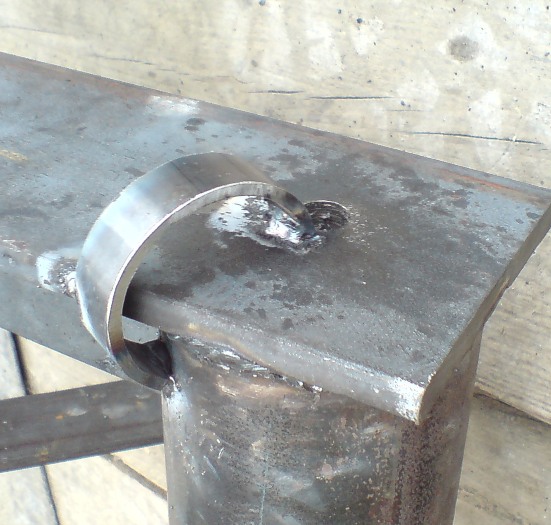
Me talking. Tadgh, Conor, and Barry listening. You can get a better view of how the tail hinge is welded on in this picture.
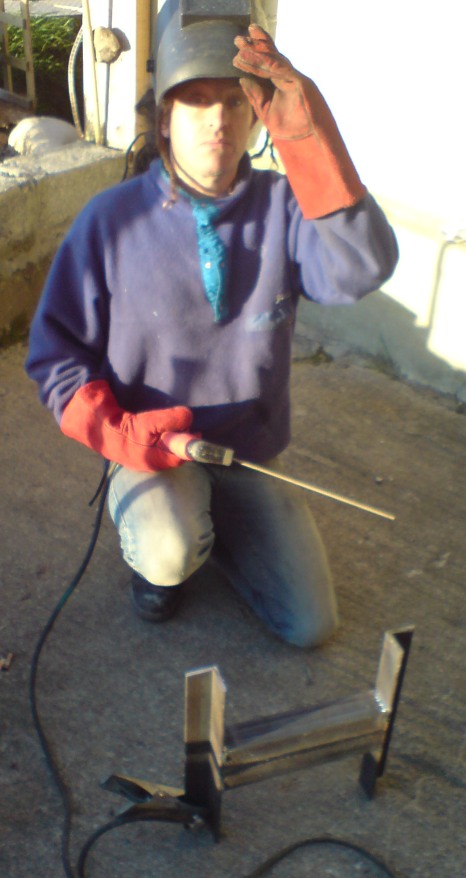
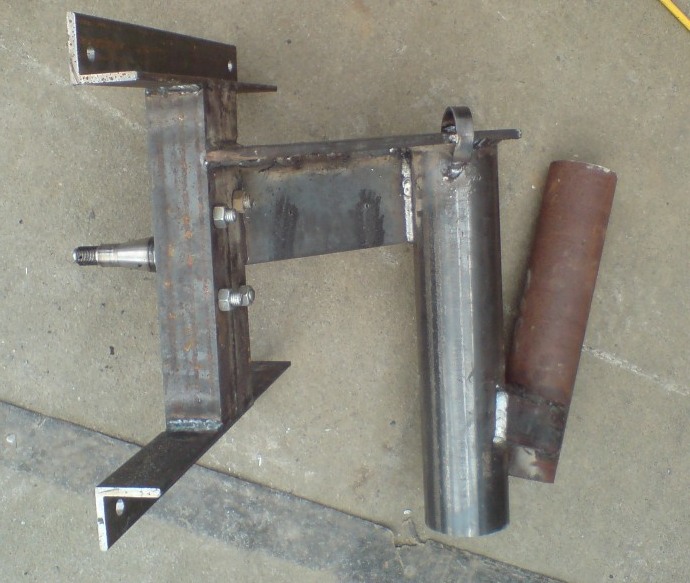
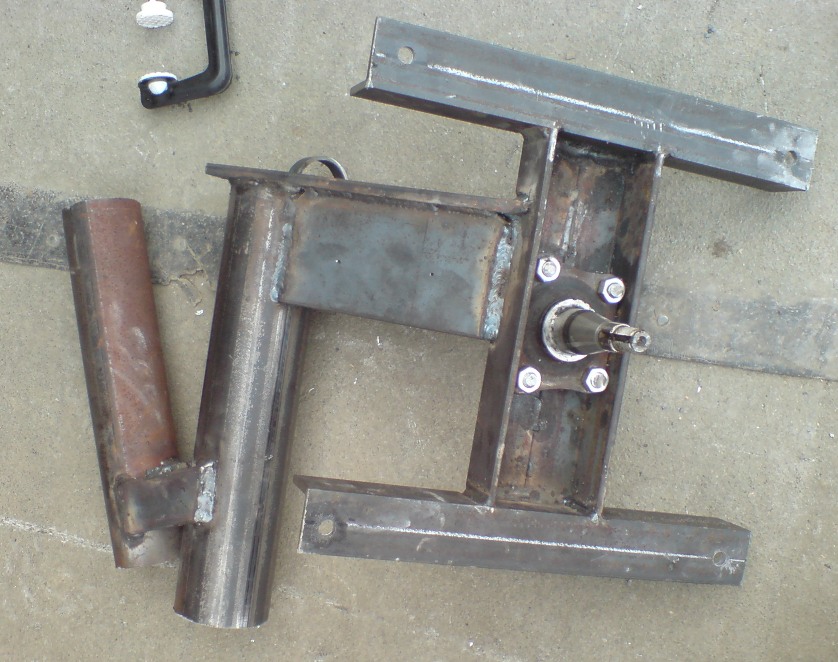
I did not take a lot of pictures of the smaller turbine steelwork. Here is a shot of the alternator frame.
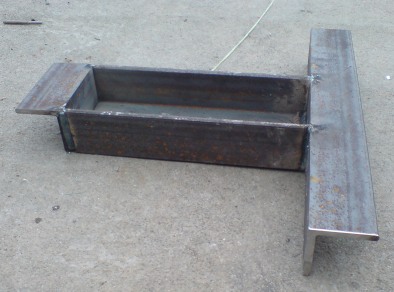
This kind of frame is much simpler to weld up. I plan to publish a new set of plans this winter with full details of the two frames.
| Back to the Main page. | Wood
carving |
Electrical |
My
courses |